Photography by Amanda Reelick
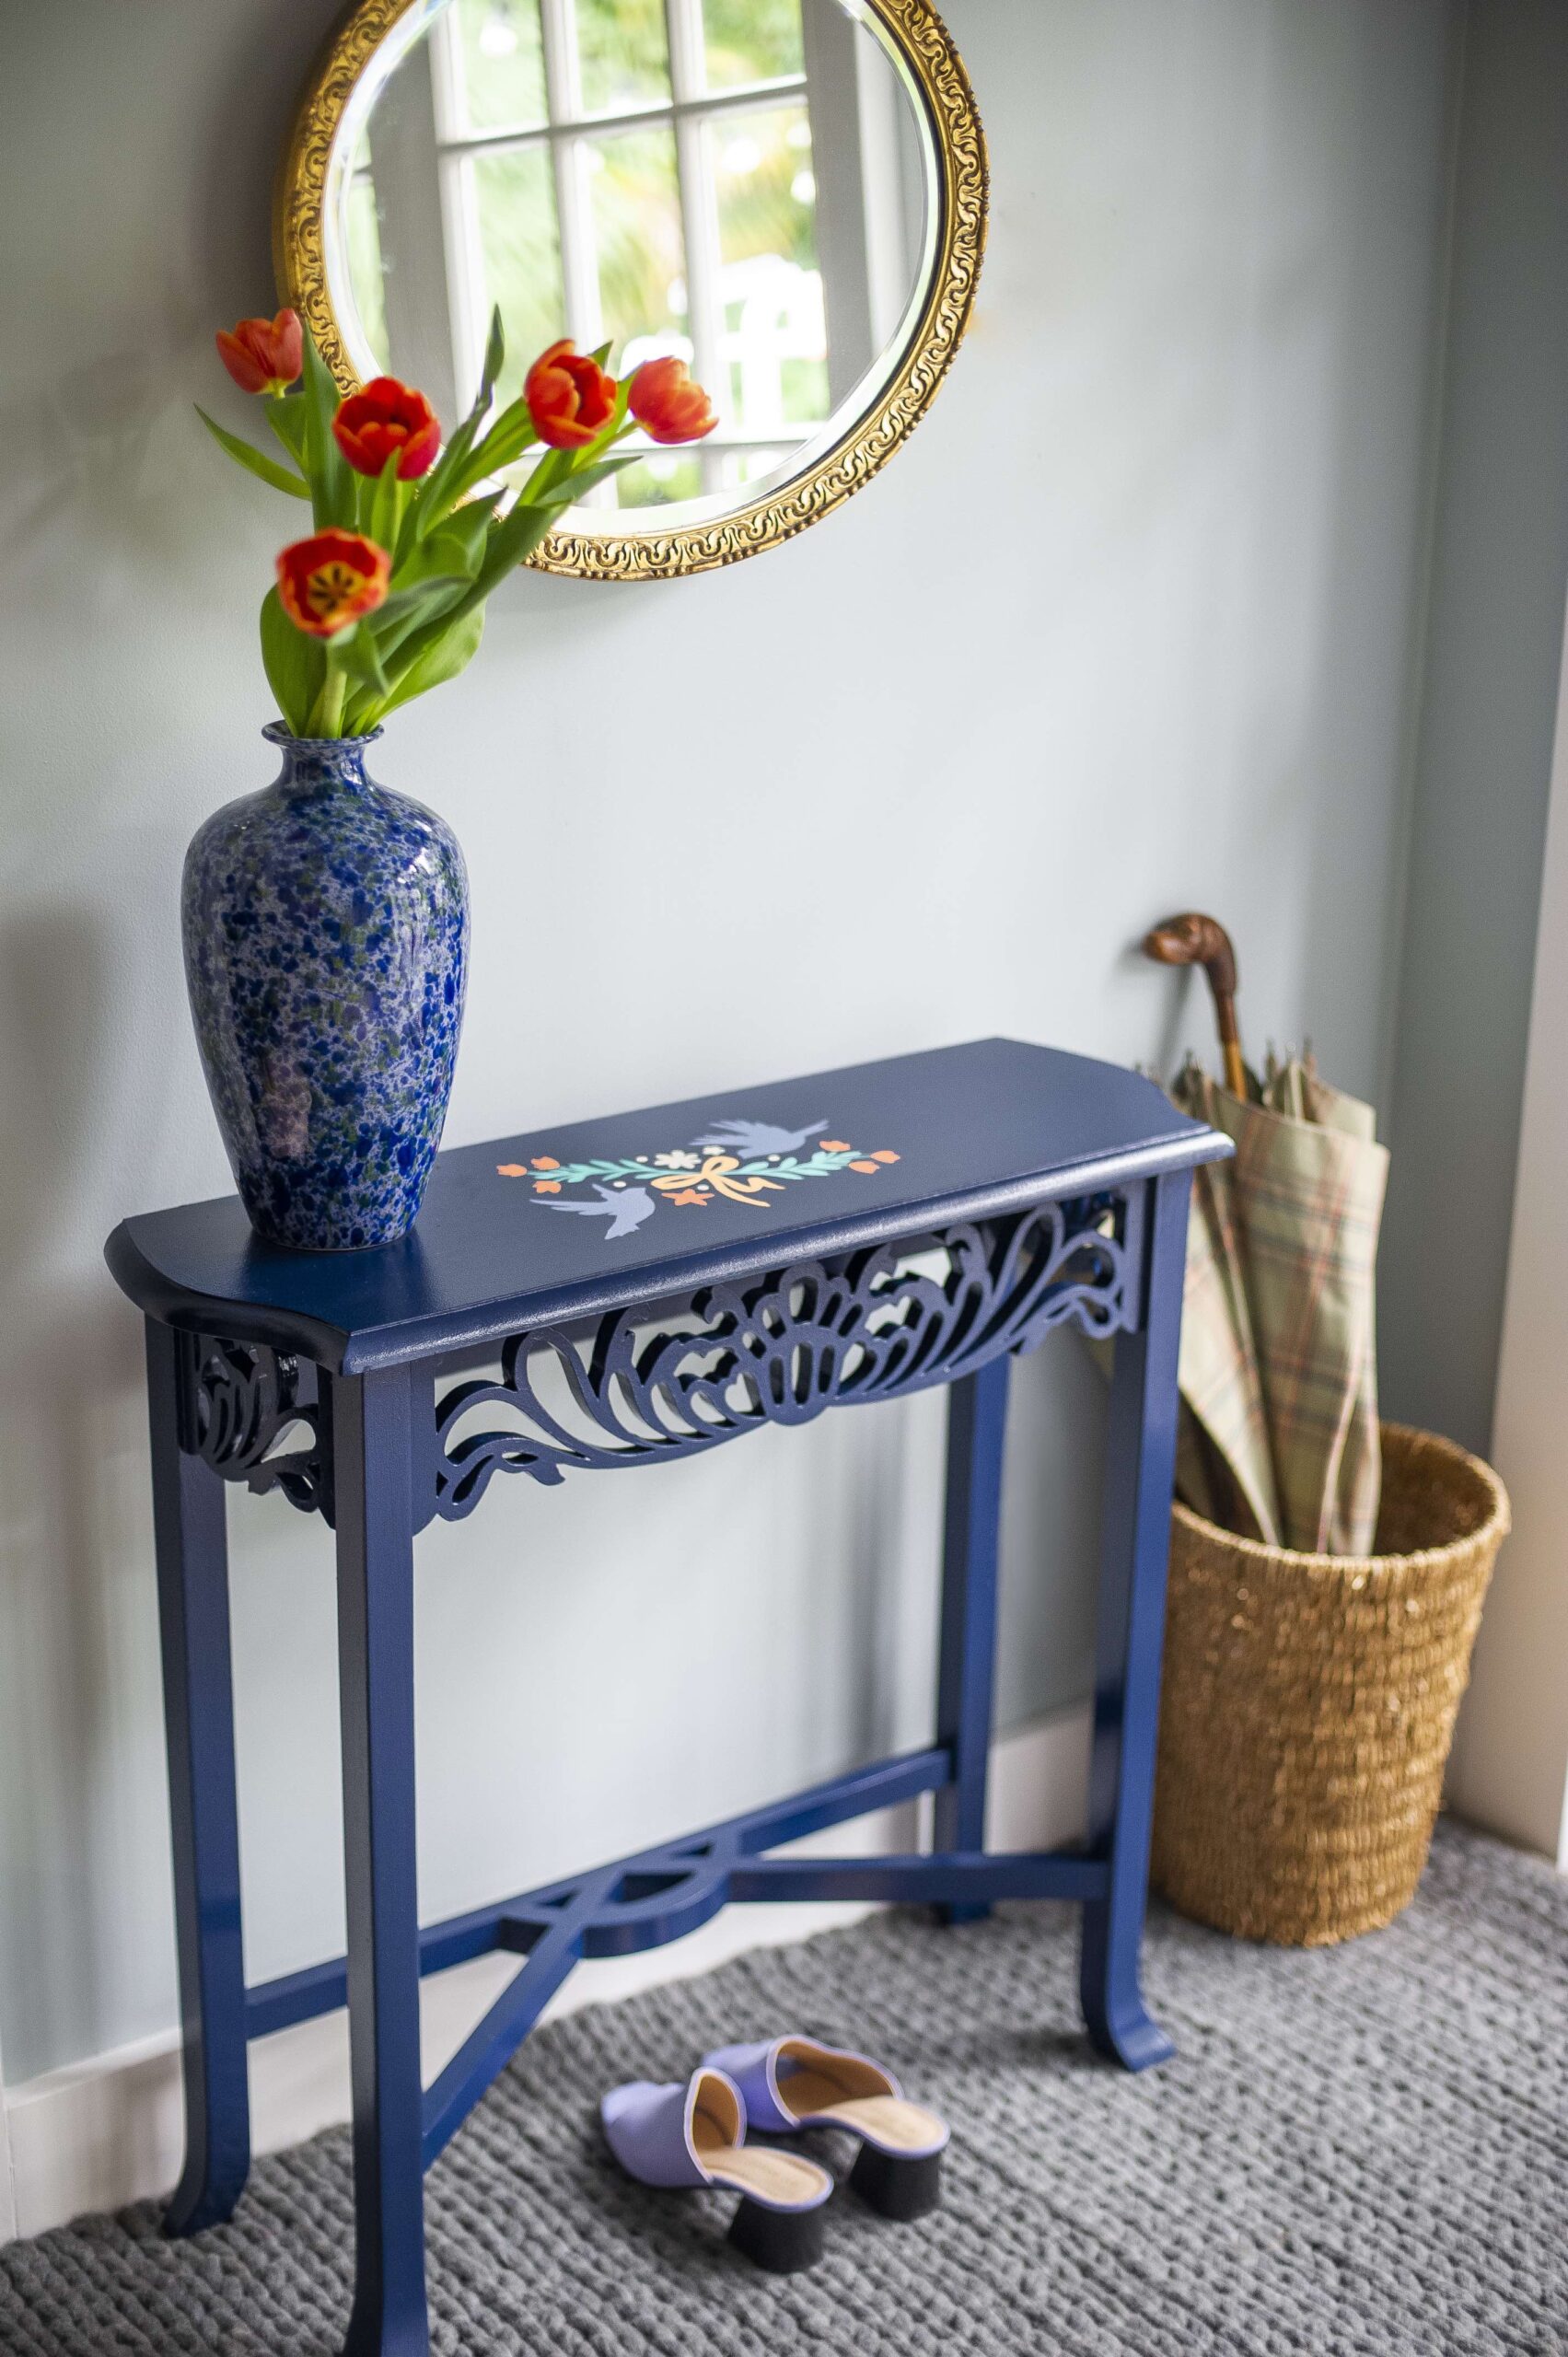
Revamping old furniture is not only kinder on the planet, but it allows us the creative freedom to produce a piece that is full of character. Liven up your room by creating eye-catching furniture using decorative stencils and Resene products.
What you’ll need:
A piece of furniture
Resene Quick Dry waterborne primer
Resene paintbrush and/or mini roller and tray Resene Enamacryl in the colour of your choice. I used Resene Blue Night.
Piece of paper
Stencil paper
Pencil
Cutting mat
Scalpel
Painter’s tape
Resene testpots. I used Resene Niagara, Resene Rose Of Sharon, Resene Sunshade, Resene Waikawa Grey and Resene Half Popcorn.
Small artist’s brush
Small sponge brush
Resene Aquaclear

Step 1: Apply a coat of Resene Quick Dry waterborne primer all over your piece of furniture using a Resene paintbrush or mini roller. Leave to dry.

Step 2: Apply a coat of Resene Enamacryl tinted to the colour of your choice. Allow to dry completely and apply a top coat.

Step 3: Create your stencil. If you enjoy drawing you could create your own design, otherwise you could print out some patterns, shapes and motifs that you like the look of. Tape your design to a window, laying the stencil paper over the top and then trace around the outlines with a pencil. Lay the stencil paper onto a cutting mat and cut around the outlines using a scalpel.

Step 4: Position your stencil onto your furniture in the desired spot and use painter’s tape to secure in place. Using Resene testpots and a sponge brush, gently dab small amounts of paint into the cut-out areas of your stencil. Paint from the outside edges inwards, being careful not to overload your brush too much with paint – it’s better to apply multiple light coats rather than heavy layers to avoid the paint bleeding under the stencil.

Step 5: Once the paint is dry, remove the stencil and use a small artist’s brush to tidy up the edges of your design.
Step 6: Once the paint is dry, apply three coats of Resene Aquaclear, allowing at least two hours between coats. This will help to protect your design from scuffs and scratches.