From issue 66.
Never throw away your old jeans – recycle the denim for creating your interior accessories and even for some new fashion items.
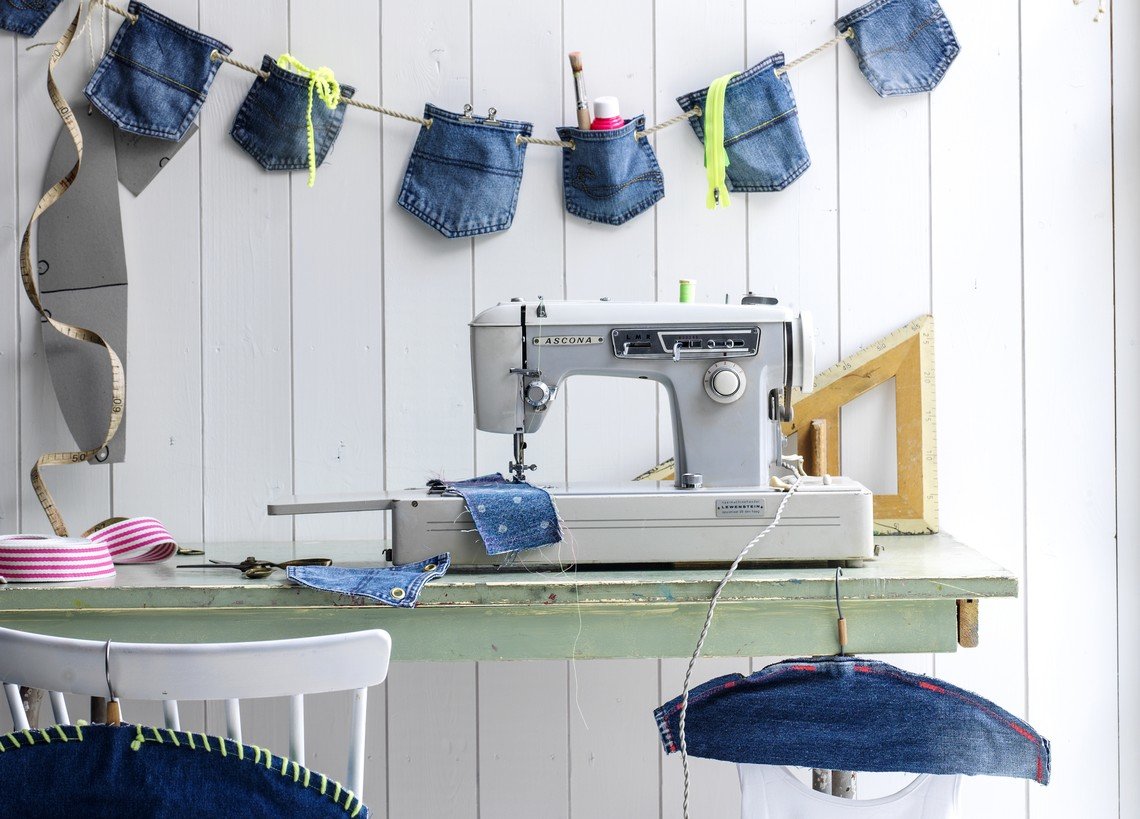
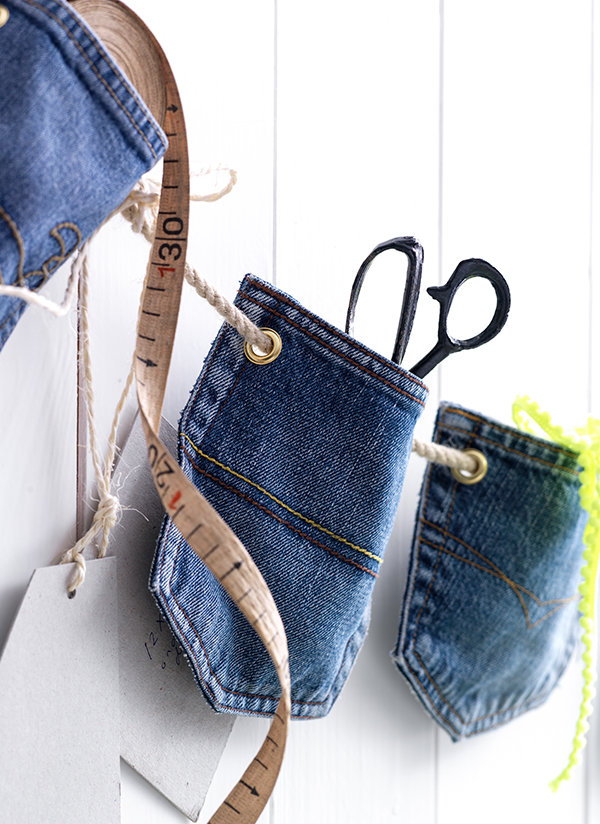
Pocket garland
Supplies • Rope • scissors • old jeans • eyelets (two per pocket) • eyelet pliers
How to do it Cut the pockets out of the back of the jeans including the back of the pocket so they can hold items. Repeat with as many pockets as you wish to have on your garland. Insert eyelet either side of the pocket with eyelet plier. Thread rope through the holes. Hang on a wall.
Coat hanger covers
Supplies • Old jeans • sewing thread (cotton or wool in a fluorescent colour) • coat hangers • scissors • fabric chalk • embroidery needle
How to do it Place coat hanger on the thigh of a jean leg and trace with tailor’s chalk leaving 2cm seam allowance; you should have two pieces front and back. Place the two pieces right-sides out. Sew around the sides leaving 5cm in the top middle for the coat hanger hook and the bottom edge for the hanging garment. Embellish with large topstitches or blanket stitch around the seamed sides.
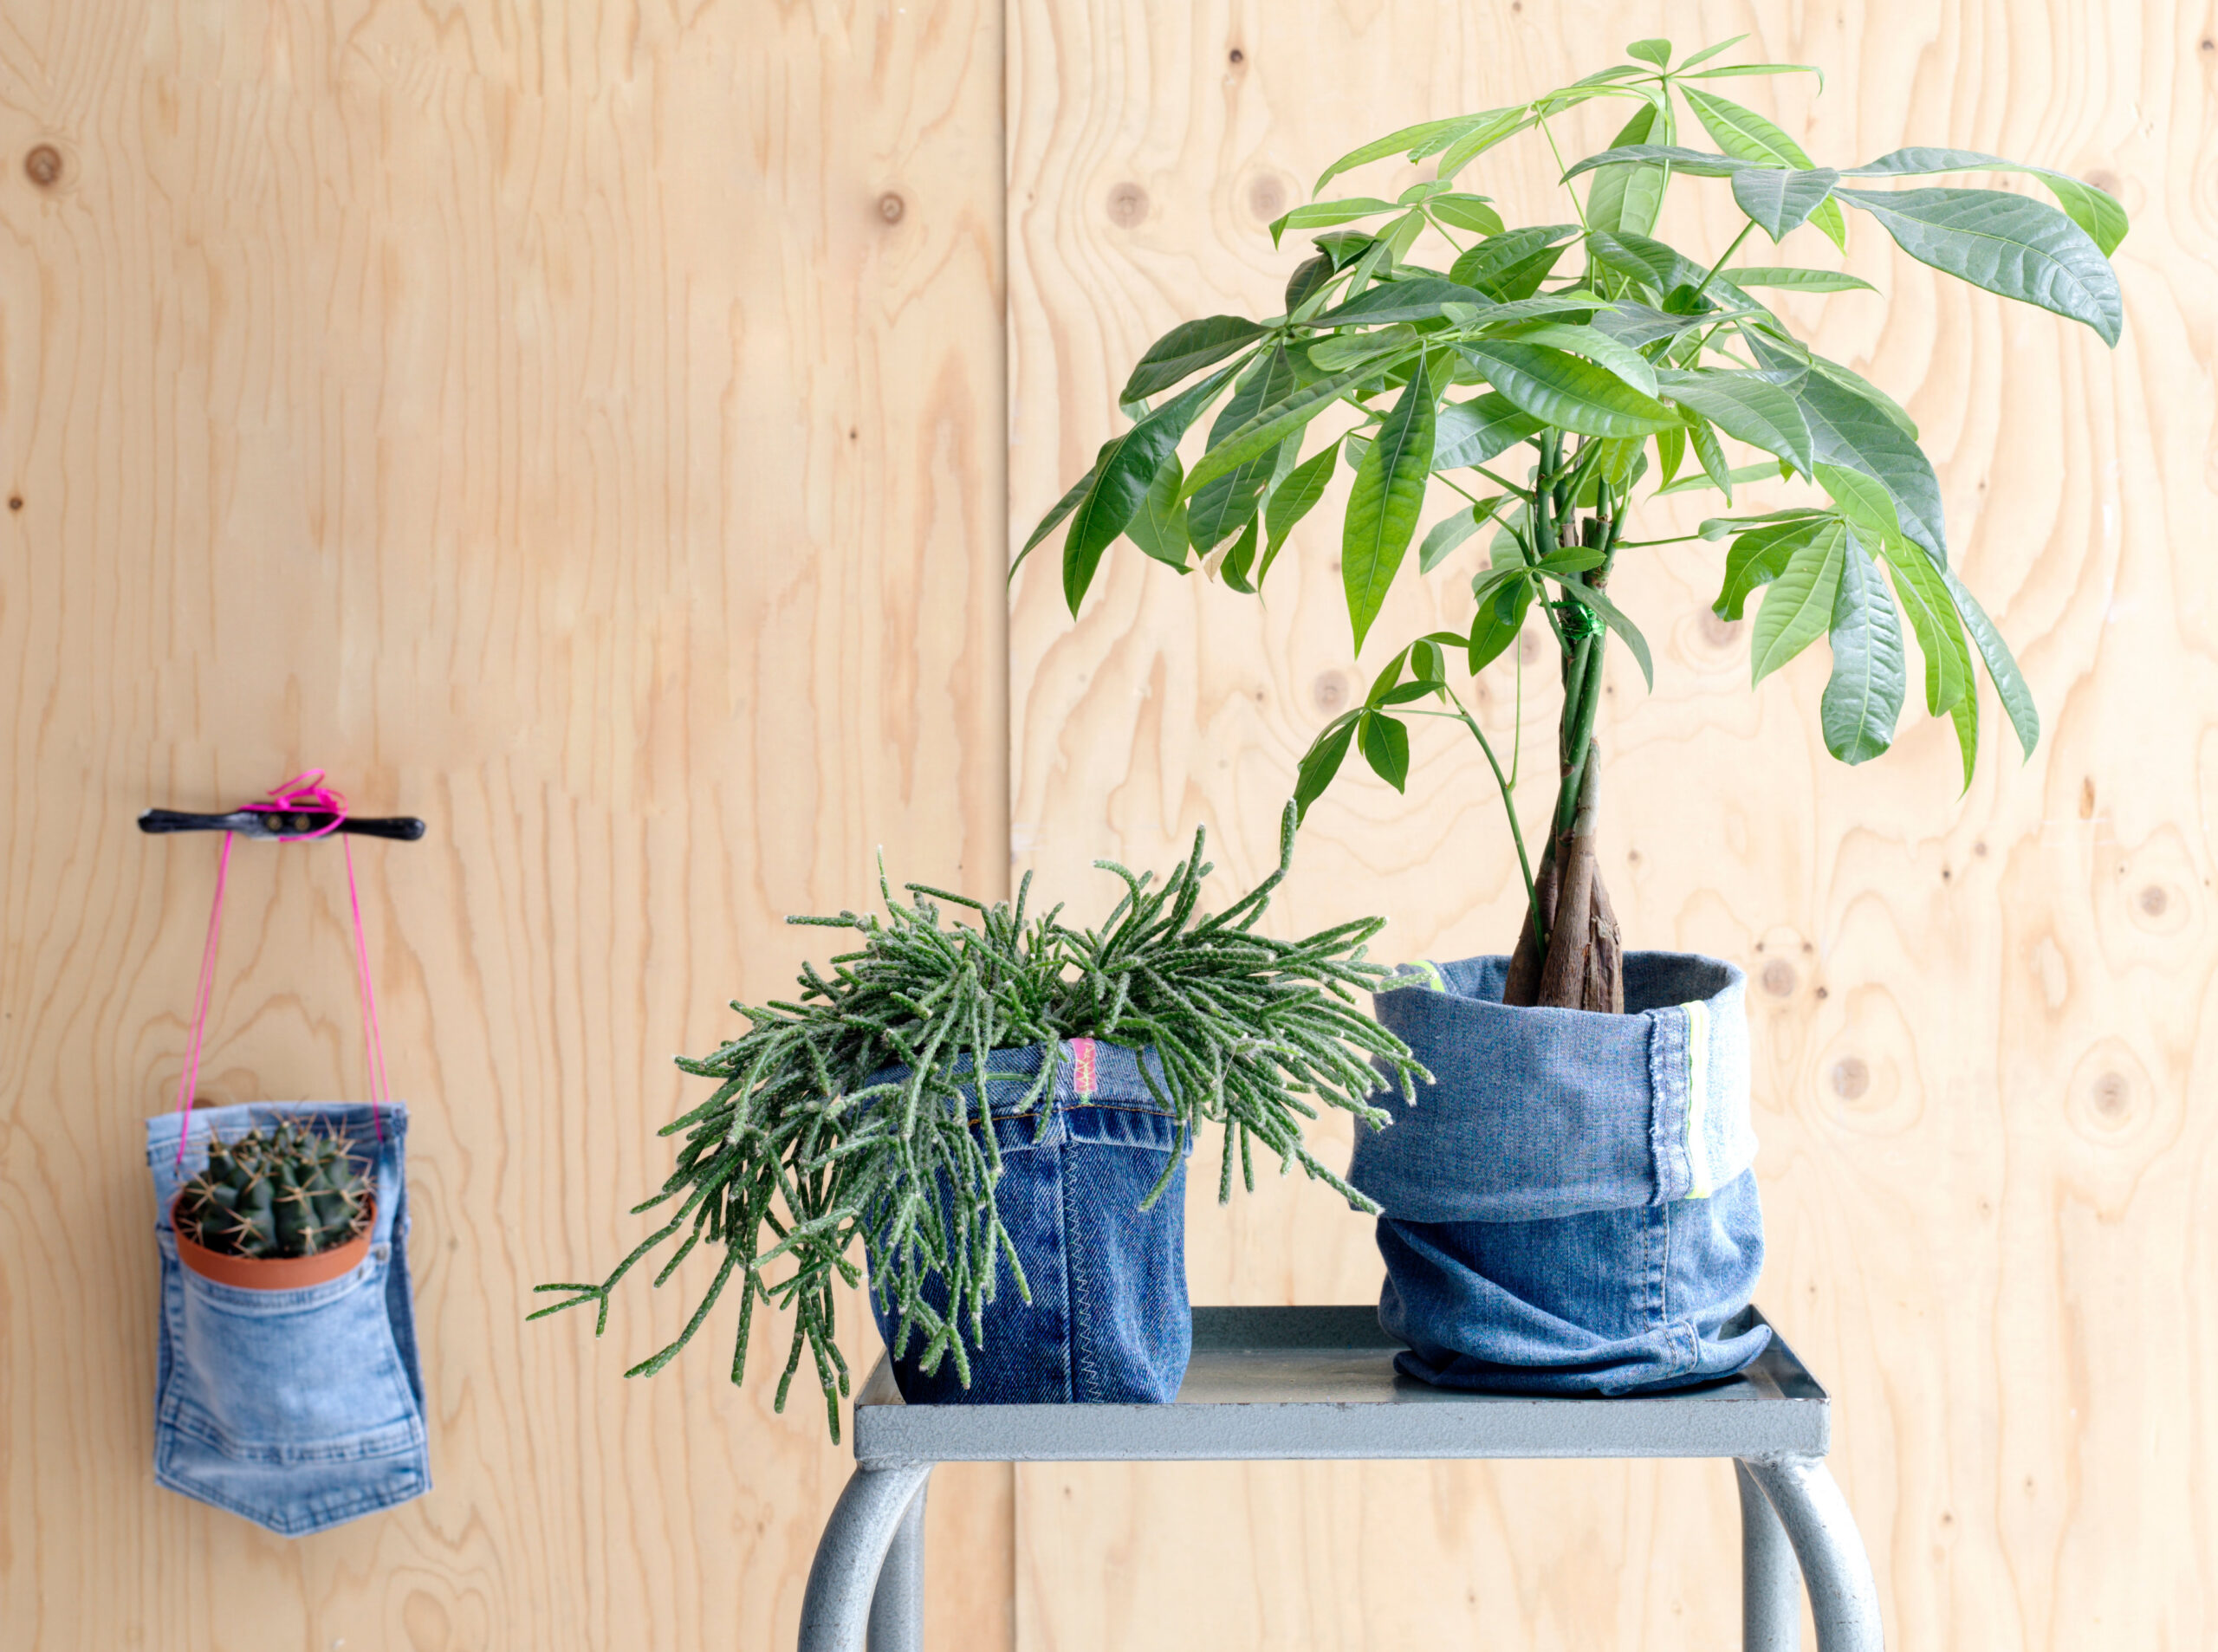
Plant pot covers
Supplies • Jeans • sewing thread• sewing machine • scissors • fluorescent coloured band • little firm plastic bags
How to do it Cut about 30cm of the jean leg, measured from the hem. Turn inside out and sew 10cm bottom seam. Bag out and fold down the hem of the jean and place planter tray and a plastic bag inside for leakage. Pop your houseplant
in its pot inside. Another fun idea is to cut a jean pocket out for a hanging plant option. Cut holes either side 5cm down from the top and thread string. You can also use eyelets for this if you’d prefer. This option will also need a tray and a plastic bag. These planter bags are suggested for inside use only.
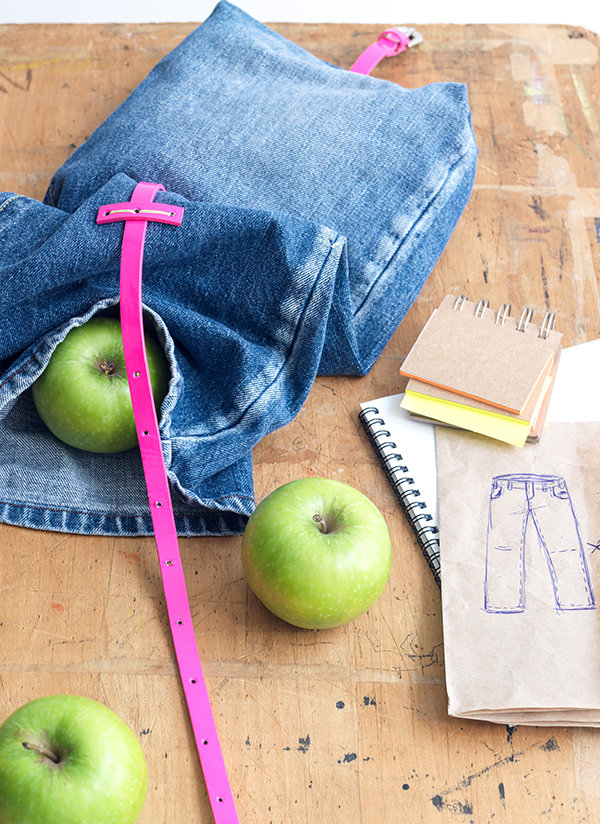
Lunch bag
Supplies • Jeans • thin belt • sewing thread • sewing machine • scissors • embroidery needle • cotton thread in complementary colour
How to do it Find an old thin belt cut into 3: (a) 4cm strip from the centre of the belt; (b) 45cm strip from the hole-punched end; (c) 10cm from the buckle end keeping the buckle attached. Take a regular or baggy jean leg and cut about 50cm up from the hem. This will be the body of your bag. Next place belt part (a) parallel to the hem 20cm from the bottom of the jeans. Place belt part (b) under belt part (a) and stitch together with the jeans using a large needle through the holes. Note: if belt holes are missing you will need a leather hole punch to add additional holes. You will need to also stitch down the belt end so it is secure to the jean. Turn the jean leg inside out and place belt (c) in the centre of the raw edge – the buckle end must be inside the leg – then pin and double-check which way the belt buckle sits when fastened. Sew a 2cm seam along the raw edge attaching belt part (c) in the seam. Bag out and fasten the belt and you have completed your lunch bag.
