Kitchen gardens, often referred to as “potagers” in French, have a rich and diverse history dating back centuries. Their origins can be traced to the medieval monasteries of Europe, where monks cultivated herbs, vegetables, and fruits within the confines of their cloisters. These early kitchen gardens served both culinary and medicinal purposes, reflecting the intertwined nature of food and healing in the past. Over time, the concept of the kitchen garden spread across continents and evolved to suit the needs and preferences of different cultures. In colonial America, for example, kitchen gardens were essential for self-sufficiency and provided families with fresh produce. In the 19th century, Victorian-era kitchen gardens in England became ornate and intricate displays of horticultural skill. Today, kitchen gardens continue to thrive, not only as sources of fresh, organic ingredients but also as expressions of sustainable and health-conscious living, connecting people to the land.
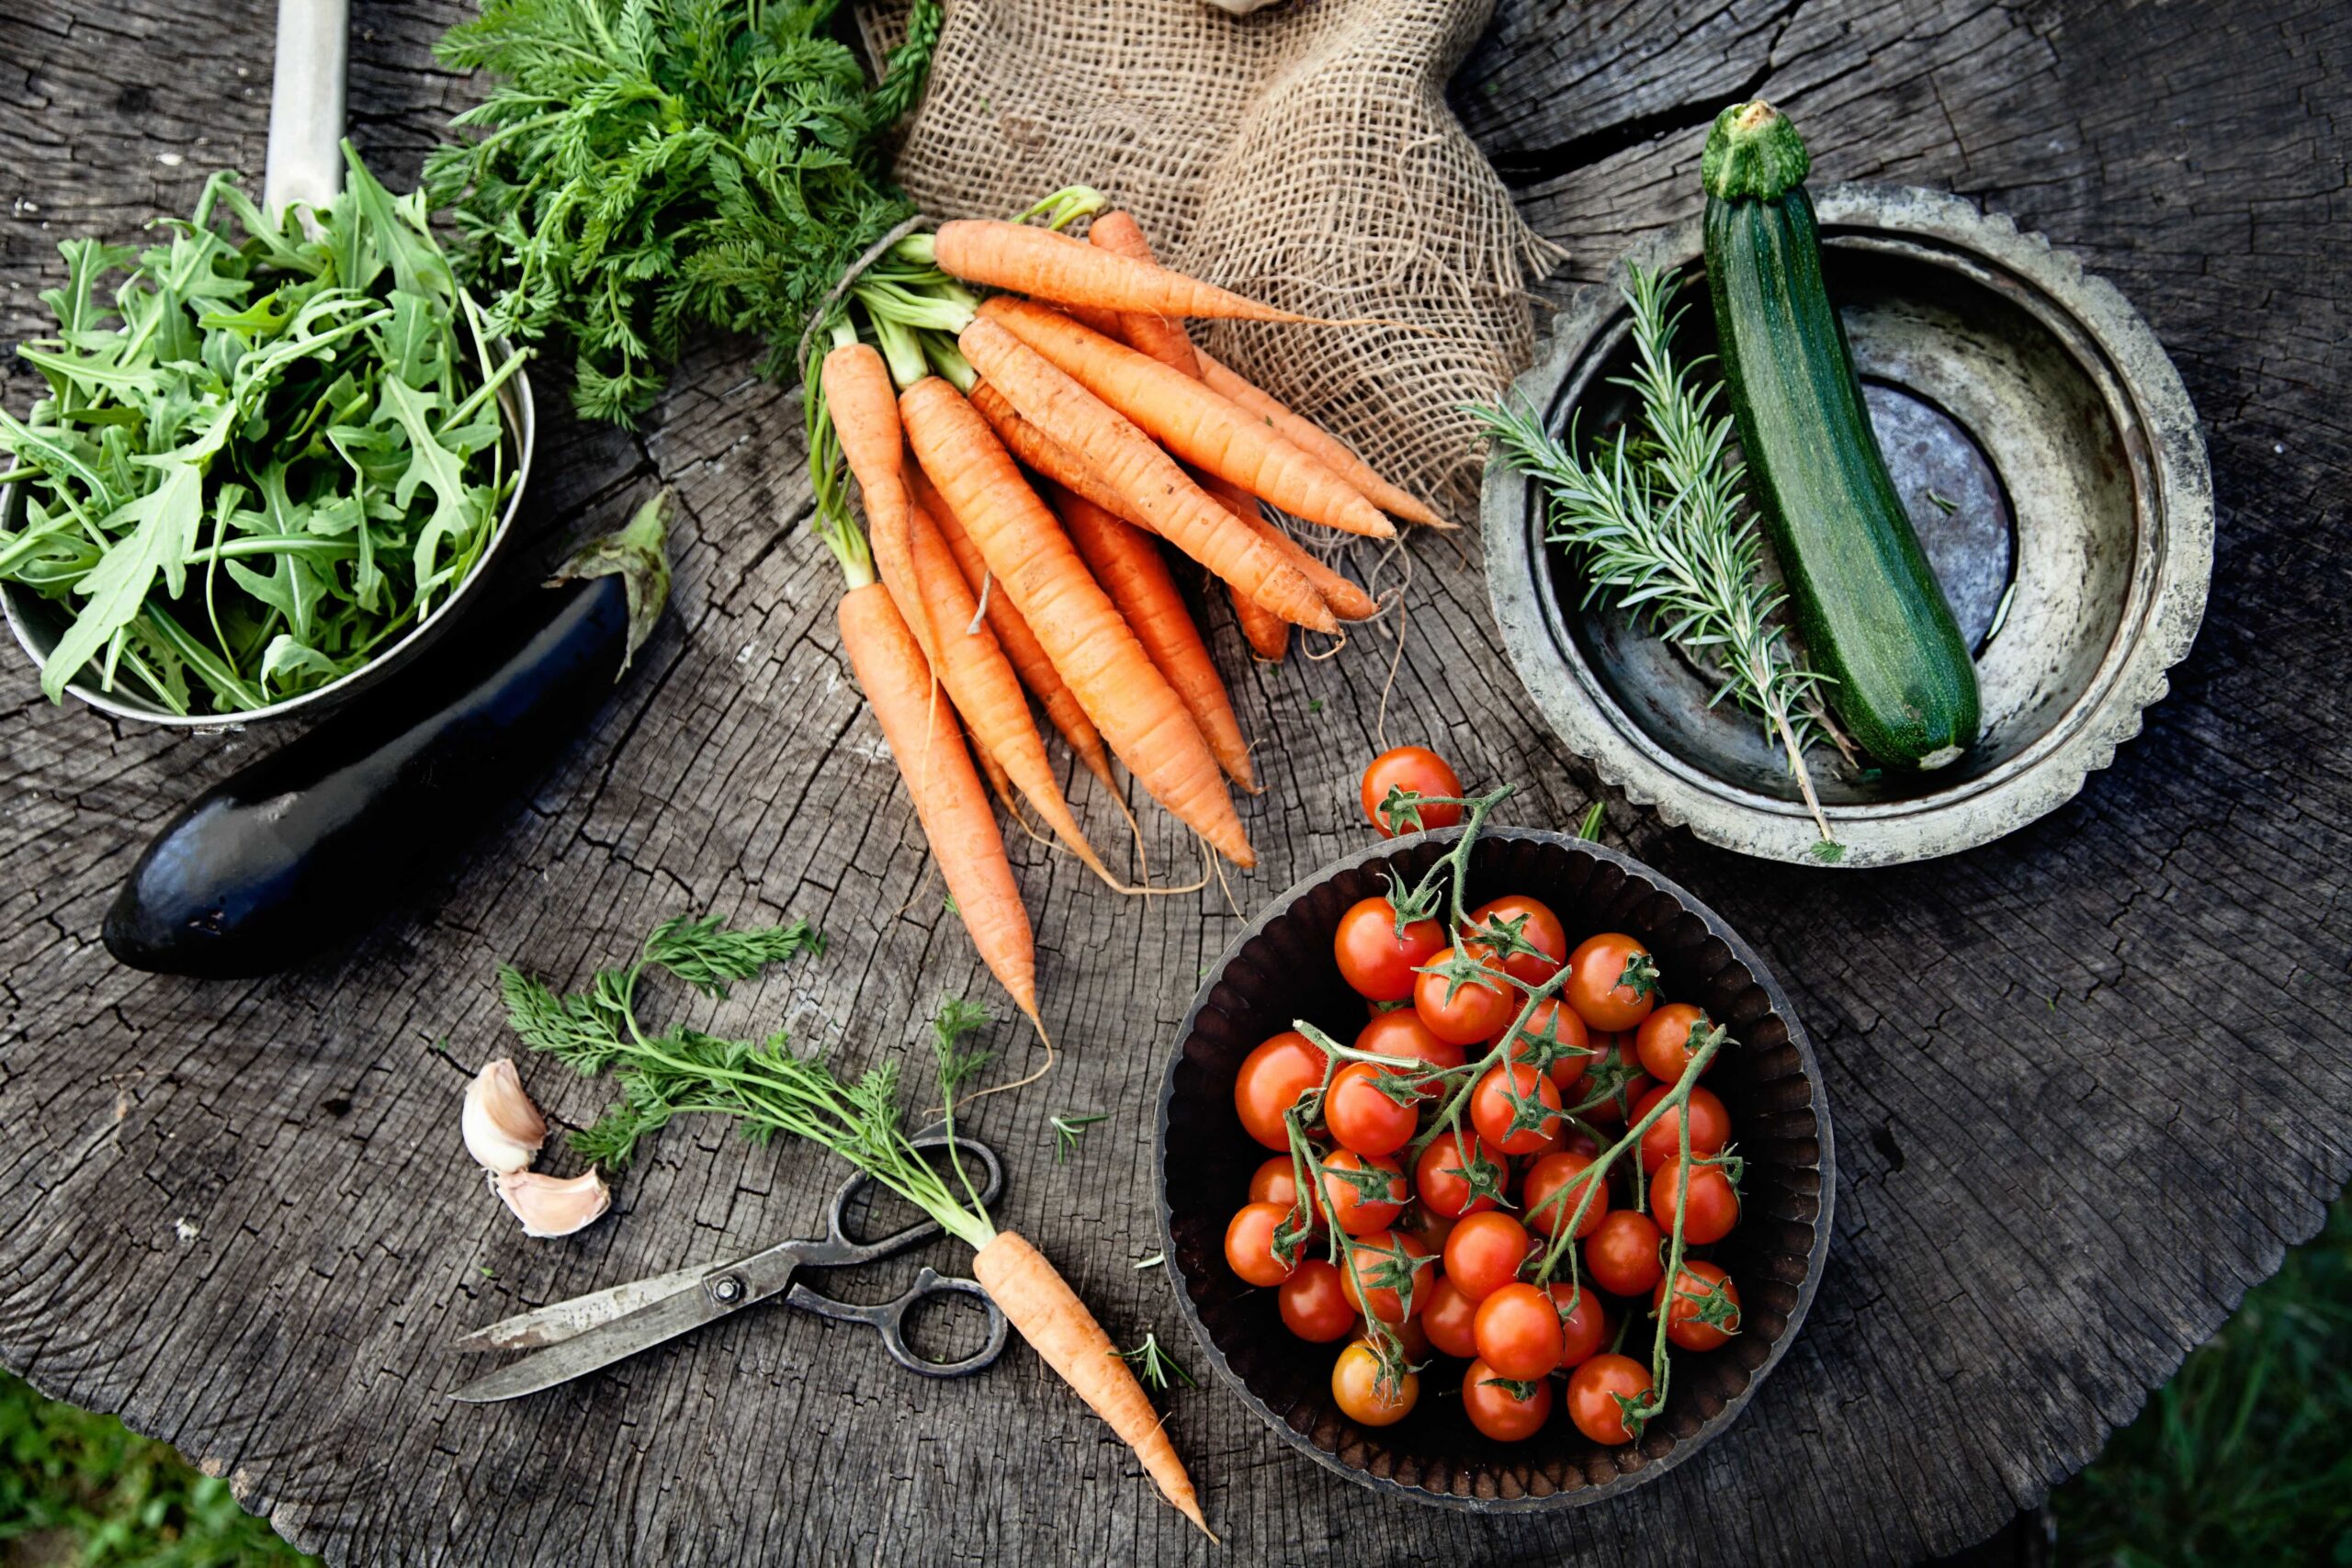
As the name suggests, kitchen gardens are located in close proximity to the kitchen, making it convenient for the cook of the family to access fresh ingredients without having to travel far. They typically include a wide range of edible plants, such as tomatoes, cucumbers, lettuce, herbs like basil and oregano, and other vegetables and herbs commonly used in cooking. Another characteristic of kitchen gardens is their size; they’re usually smaller in scale compared to larger vegetable gardens or farms. They are designed to meet the culinary needs of a household or a family.
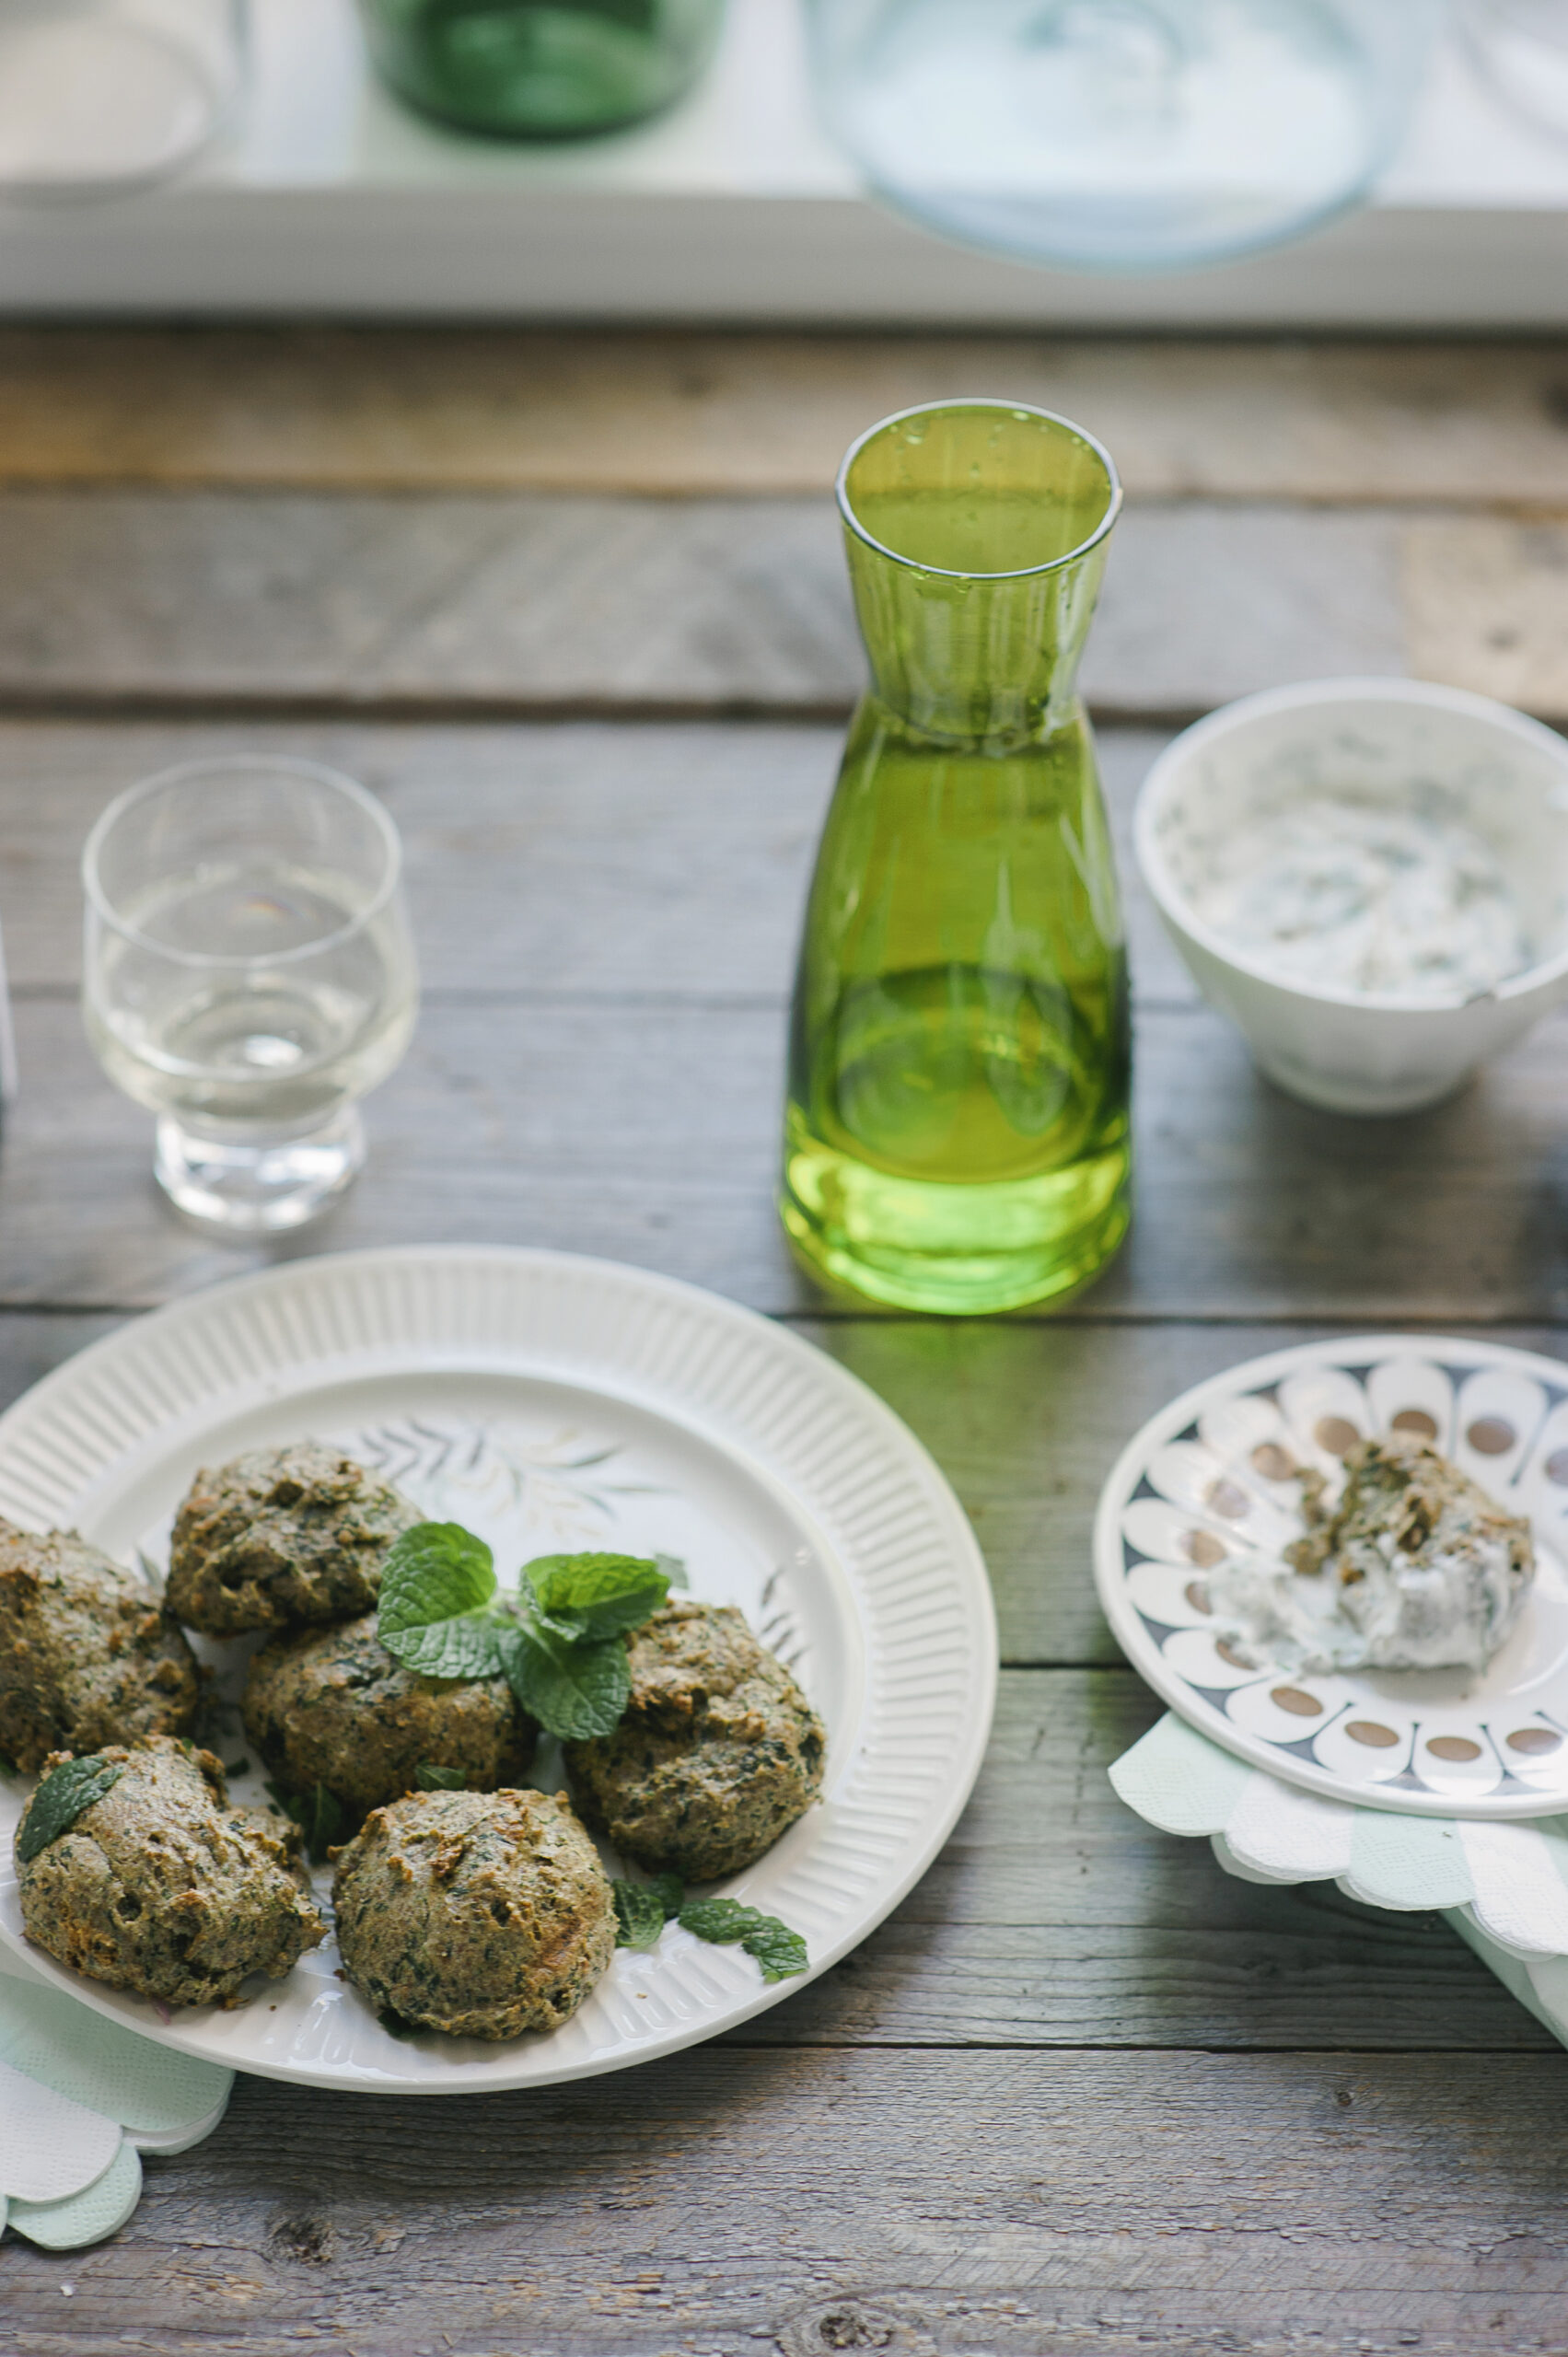
One of the most significant advantages of a kitchen garden is the improved quality of the food you can harvest. When you grow your own produce, you have control over the growing conditions and can avoid harmful pesticides and chemicals that are often found in store-bought vegetables. Homegrown vegetables are not only fresher but also more nutritious, as they haven’t lost their nutritional value during transportation and storage.
Cultivating your own garden also allows you to diversify your diet by growing a wide variety of fruits, vegetables, and herbs. You can choose to plant heirloom or rare varieties that are not readily available in grocery stores, expanding your horizons and enjoying flavours and textures that commercial produce can’t compare to.
Whether you have a sprawling backyard or a small balcony, you can create your own kitchen garden and start reaping the rewards of growing your own food.
1. Choose the right location
The first step in establishing a kitchen garden is selecting the ideal location. Most kitchen garden plants require at least 6-8 hours of direct sunlight per day, so choose a spot that receives adequate sunshine. If you have limited space, consider container gardening on a sunny balcony or patio.
2. Soil preparation
Good soil is the foundation of a successful kitchen garden. Well-draining, rich soil is ideal, but any type of soil can be improved with organic matter such as compost or broken down organic matter. Raised beds are a good option for those with poor soil or limited space.
3. Plan your garden
Before you start planting, create a garden plan. Decide which crops you want to grow based on what you and your family enjoy eating and the climate of your region. Group plants together according to their sunlight, water, and soil requirements. Crop rotation, or changing the location of crops each season, can help prevent soil depletion and pest problems.
4. Start with seeds or seedlings
Start planting your kitchen garden out with seeds or seedlings, depending on your preference and the time of year. Starting from seeds offers a broader selection of varieties, while seedlings save time. If you choose seeds, follow the instructions on the seed packets for planting depth, spacing, and timing. Seedlings can be planted according to the recommended spacing for the specific crop.
5. Planting techniques
Dig holes or trenches for your plants, ensuring they’re deep enough and spaced according to the plant’s requirements. Water your plants thoroughly after planting to help them establish their roots then apply a layer of mulch to help retain soil moisture, regulate temperature, and suppress weeds.
6. Watering
Water your plants early in the morning or late in the evening to reduce evaporation. Use a soaker hose or drip irrigation system to deliver water directly to the roots, minimising water waste. Be mindful of overwatering, as it can lead to root rot and other issues. The frequency and amount of water needed depend on the plant type, soil type, and weather conditions.
7. Fertilising
Use organic fertilisers like compost or well-rotted manure to enrich the soil with essential elements. You can also use natural liquid fertilisers, such as fish emulsion or seaweed extract, to give your plants an extra boost.
8. Pest and disease management
Encourage beneficial insects like ladybugs and lacewings that can help control pests, monitor your plants regularly for signs of pests or diseases, implement natural pest control methods, such as neem oil or homemade garlic and chilli pepper sprays, and remove dead or diseased plant material as quickly as possible.