Photography Amanda Reelick.
Restoring antique furniture can be a daunting task – especially when it carries sentimental value.
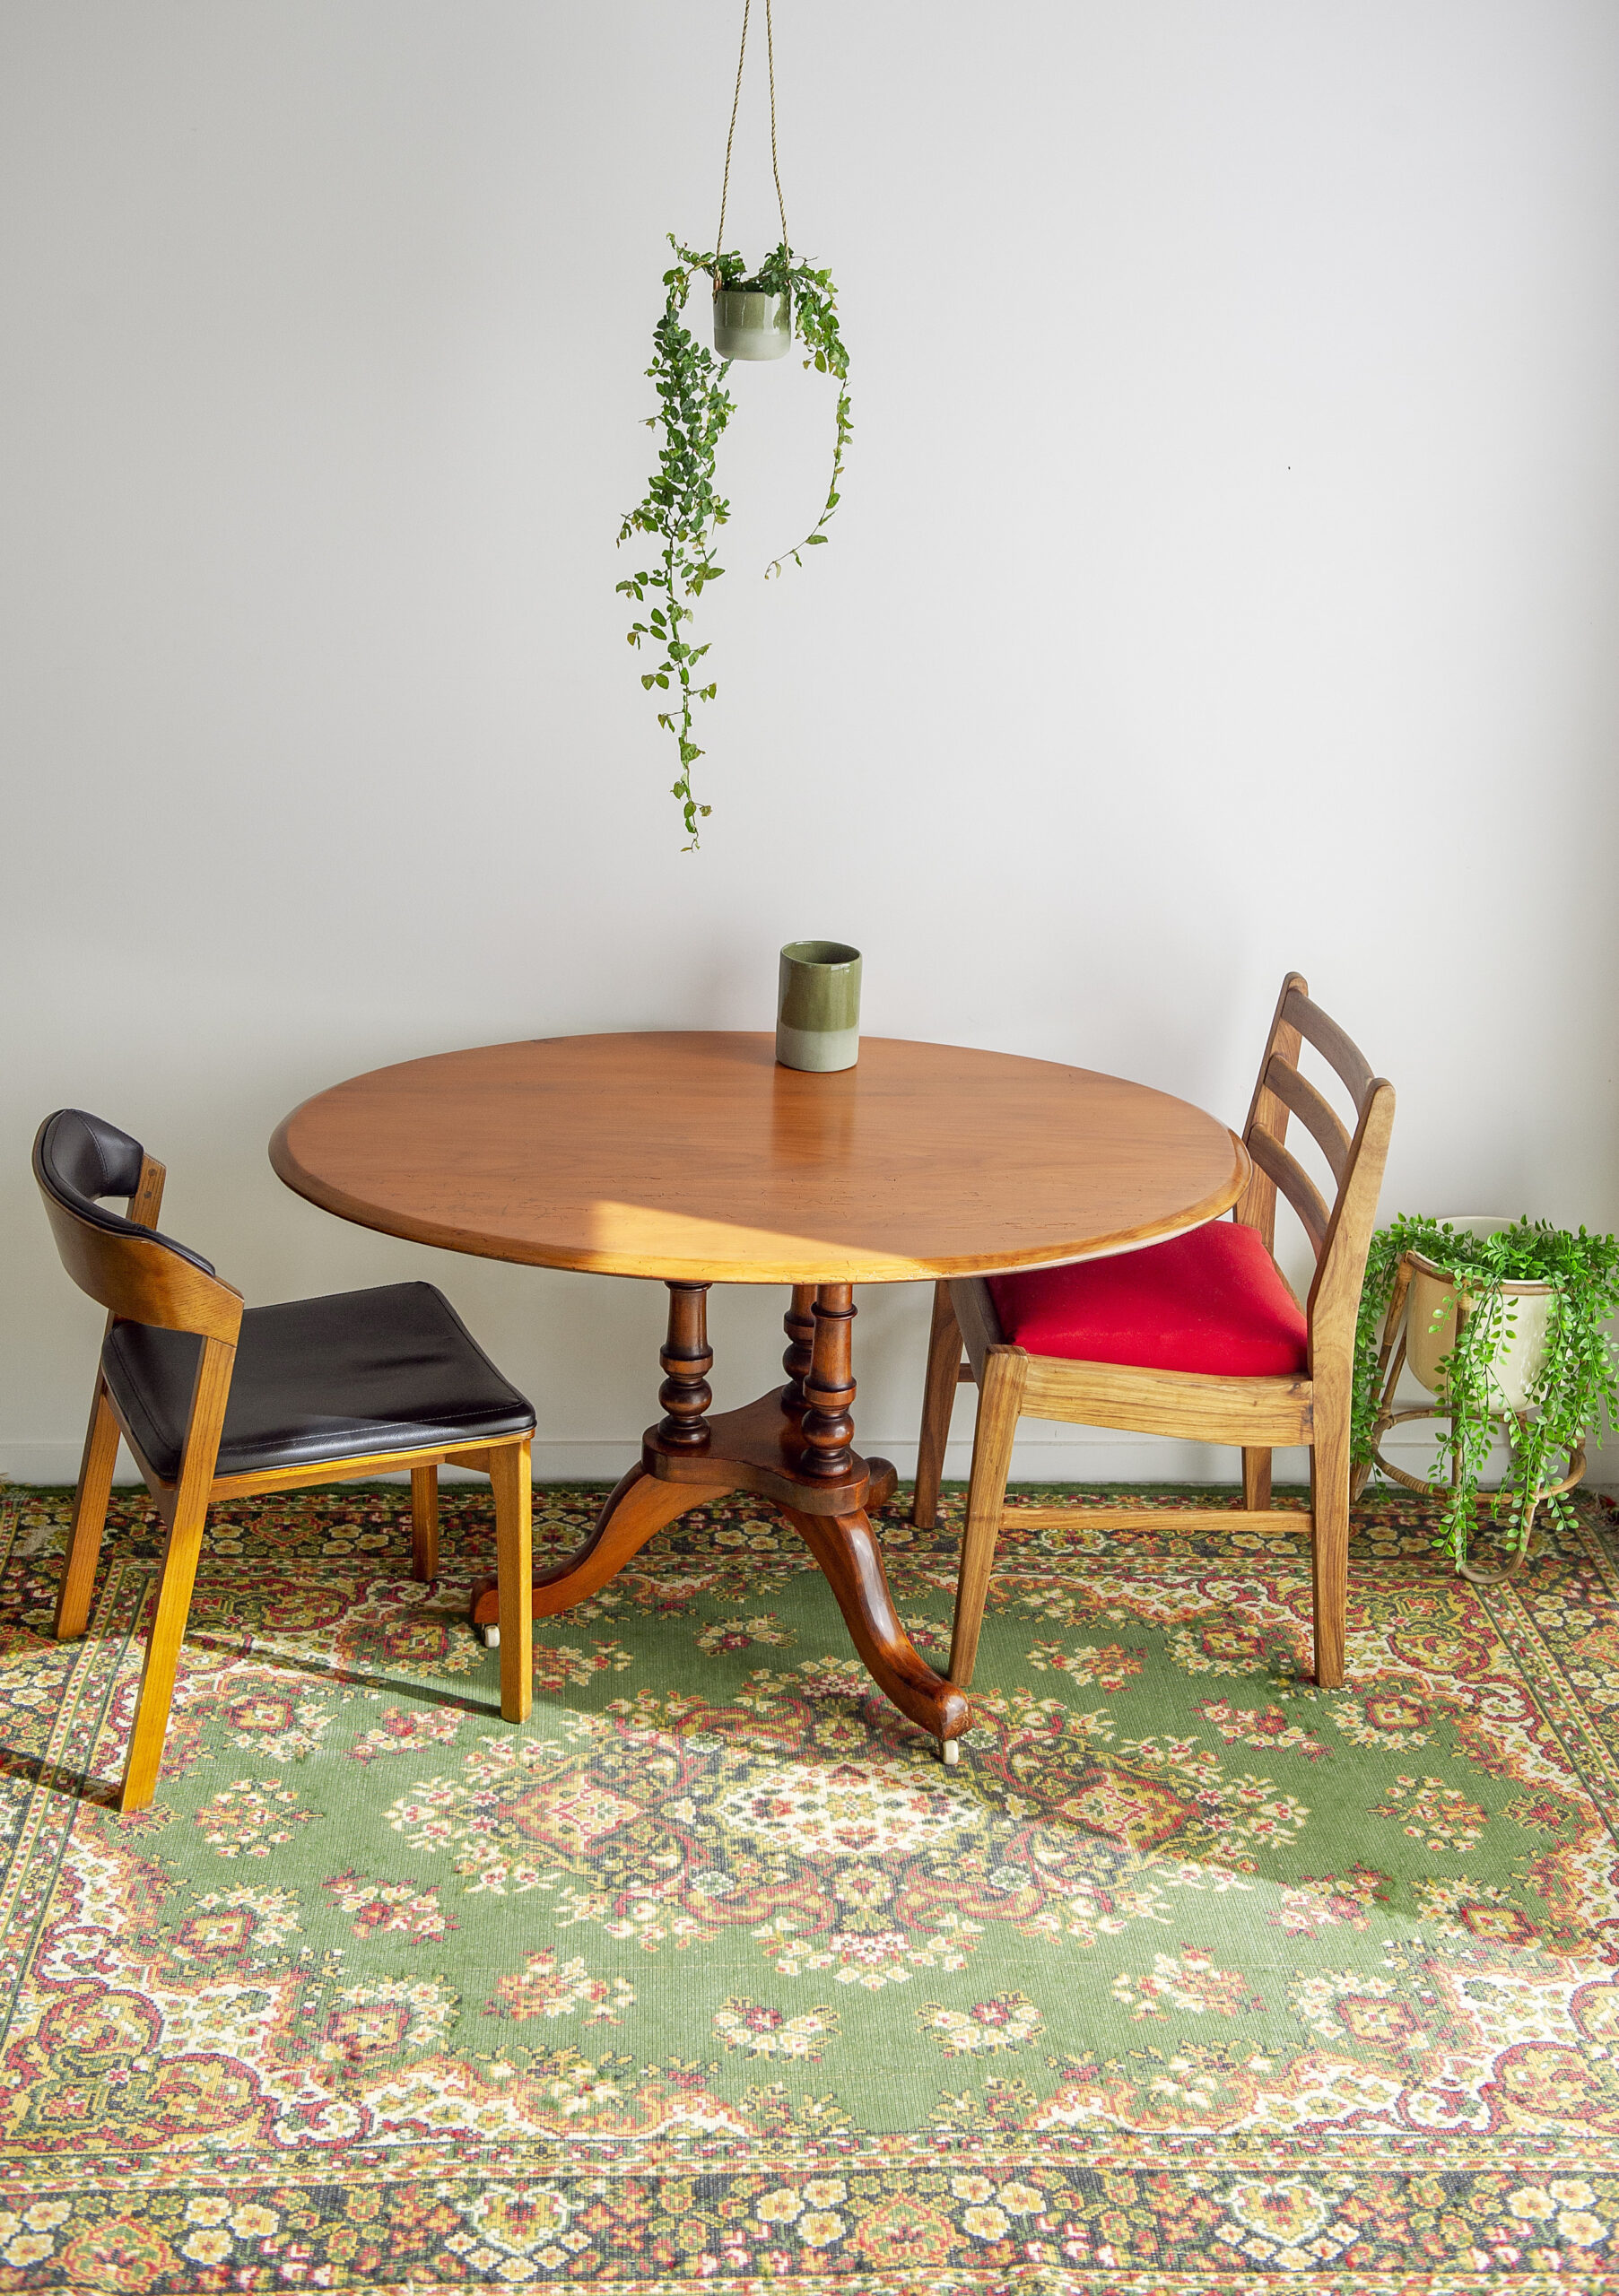
This table once belonged to my great grandparents Mary and John – I imagine the two of them sitting at it, in the late 19th century.
Later, my grandmother, had the table revarnished but was disappointed that the result was a dark brown coating that hid the woodgrain.
As this layer is now flaking, it’s a chance to discover what lies beneath.
You will need:
- Wooden table
- Resene Aquaclear Satin
- Small electric sander (optional)
- Sandpaper of various grades
- Wire wool, fine grade
- Easy Reach Tray
- PAL Speedbrush
- Face mask and earmuffs
- Dropcloth, soft brush and cloths
Step-by-Step
Step 1 Remove old varnish
Electric sanders are fast, but only use a lightweight palm or rotary sander as more heavy-duty sanders could quickly ruin an antique.
For delicate pieces or anything not heavily coated you may choose to sand entirely by hand.
Lay out a drop cloth. Start with 120 or 180 grade paper, then switch to the lighter 220.
Tear sandpaper sheets into quarters and fold over a sanding block or into pieces that are comfortable to hold flat.
Wear a face mask, and if you are using an electric sander, also earmuffs.
Avoid creating scratches and groves by sanding in the direction of the wood grain, keeping the sandpaper or electric sander pad flat on the wood and applying even pressure while moving back and forth in the same direction.
Hand sand any curves or edges. Finish with 240 grade paper.

Step 2 Clean up
Use soft brushes and cloths to remove all wood dust from the table and surrounding area.
Shake out the dropcloth and sweep or mop the floor.

Step 3 Apply multiple coats
Speedbrushes use lots of fine bristles to create an even paint film.
Pour just enough Resene Aquaclear into the roller tray.
Dip the pad’s fibred surface into the varnish and spread the varnish using long, smooth movements.
Apply multiple thin coats, allowing at least 2 hours drying time between each.
As necessary, lightly sand between coats using fine grade wire wool.
Clean away any dust.
Resene Aquaclear is waterborne so the tray and speedbrush are easily washed each time. Or wrap in a reusable plastic bag to save washing up.

Step 4 Add tint as desired
Resene Colorwood Enhance is a waterborne stain that adds colour without covering the natural timber grain.
Colours can be mixed to create a range of shades.
I used Resene Colorwood Enhance – Red Brown in coats three to five to ensure the tabletop better matched the table base.
Allow 72 hours for the final coat to cure.