Words Niva and Yotam Kay. Photography Niva Kay and Jane Ussher
An extract on setting up a regenerative garden from Niva and Yotam Kay’s book, The Abundant Garden.
Establishing a new garden takes a bit of work, regardless of the garden-bed style you choose. To keep things fun and manageable, we highly recommend biting off only what you can comfortably chew. If all you think you can manage at the moment to establish and take care of is a 2 square metre bed, go for it! It doesn’t have to be a perfect garden that lasts forever. If you feel like you need a bit of support, or you want to share this learning experience with friends, a great way to kickstart your new garden is to organise some snacks and invite a few friends over for a weekend gardening working bee.
Building And Maintaining A Healthy Soil Structure
Once you have chosen your site, think about your soil. The way you prepare and maintain your growing beds will help to enhance the health of your soil.
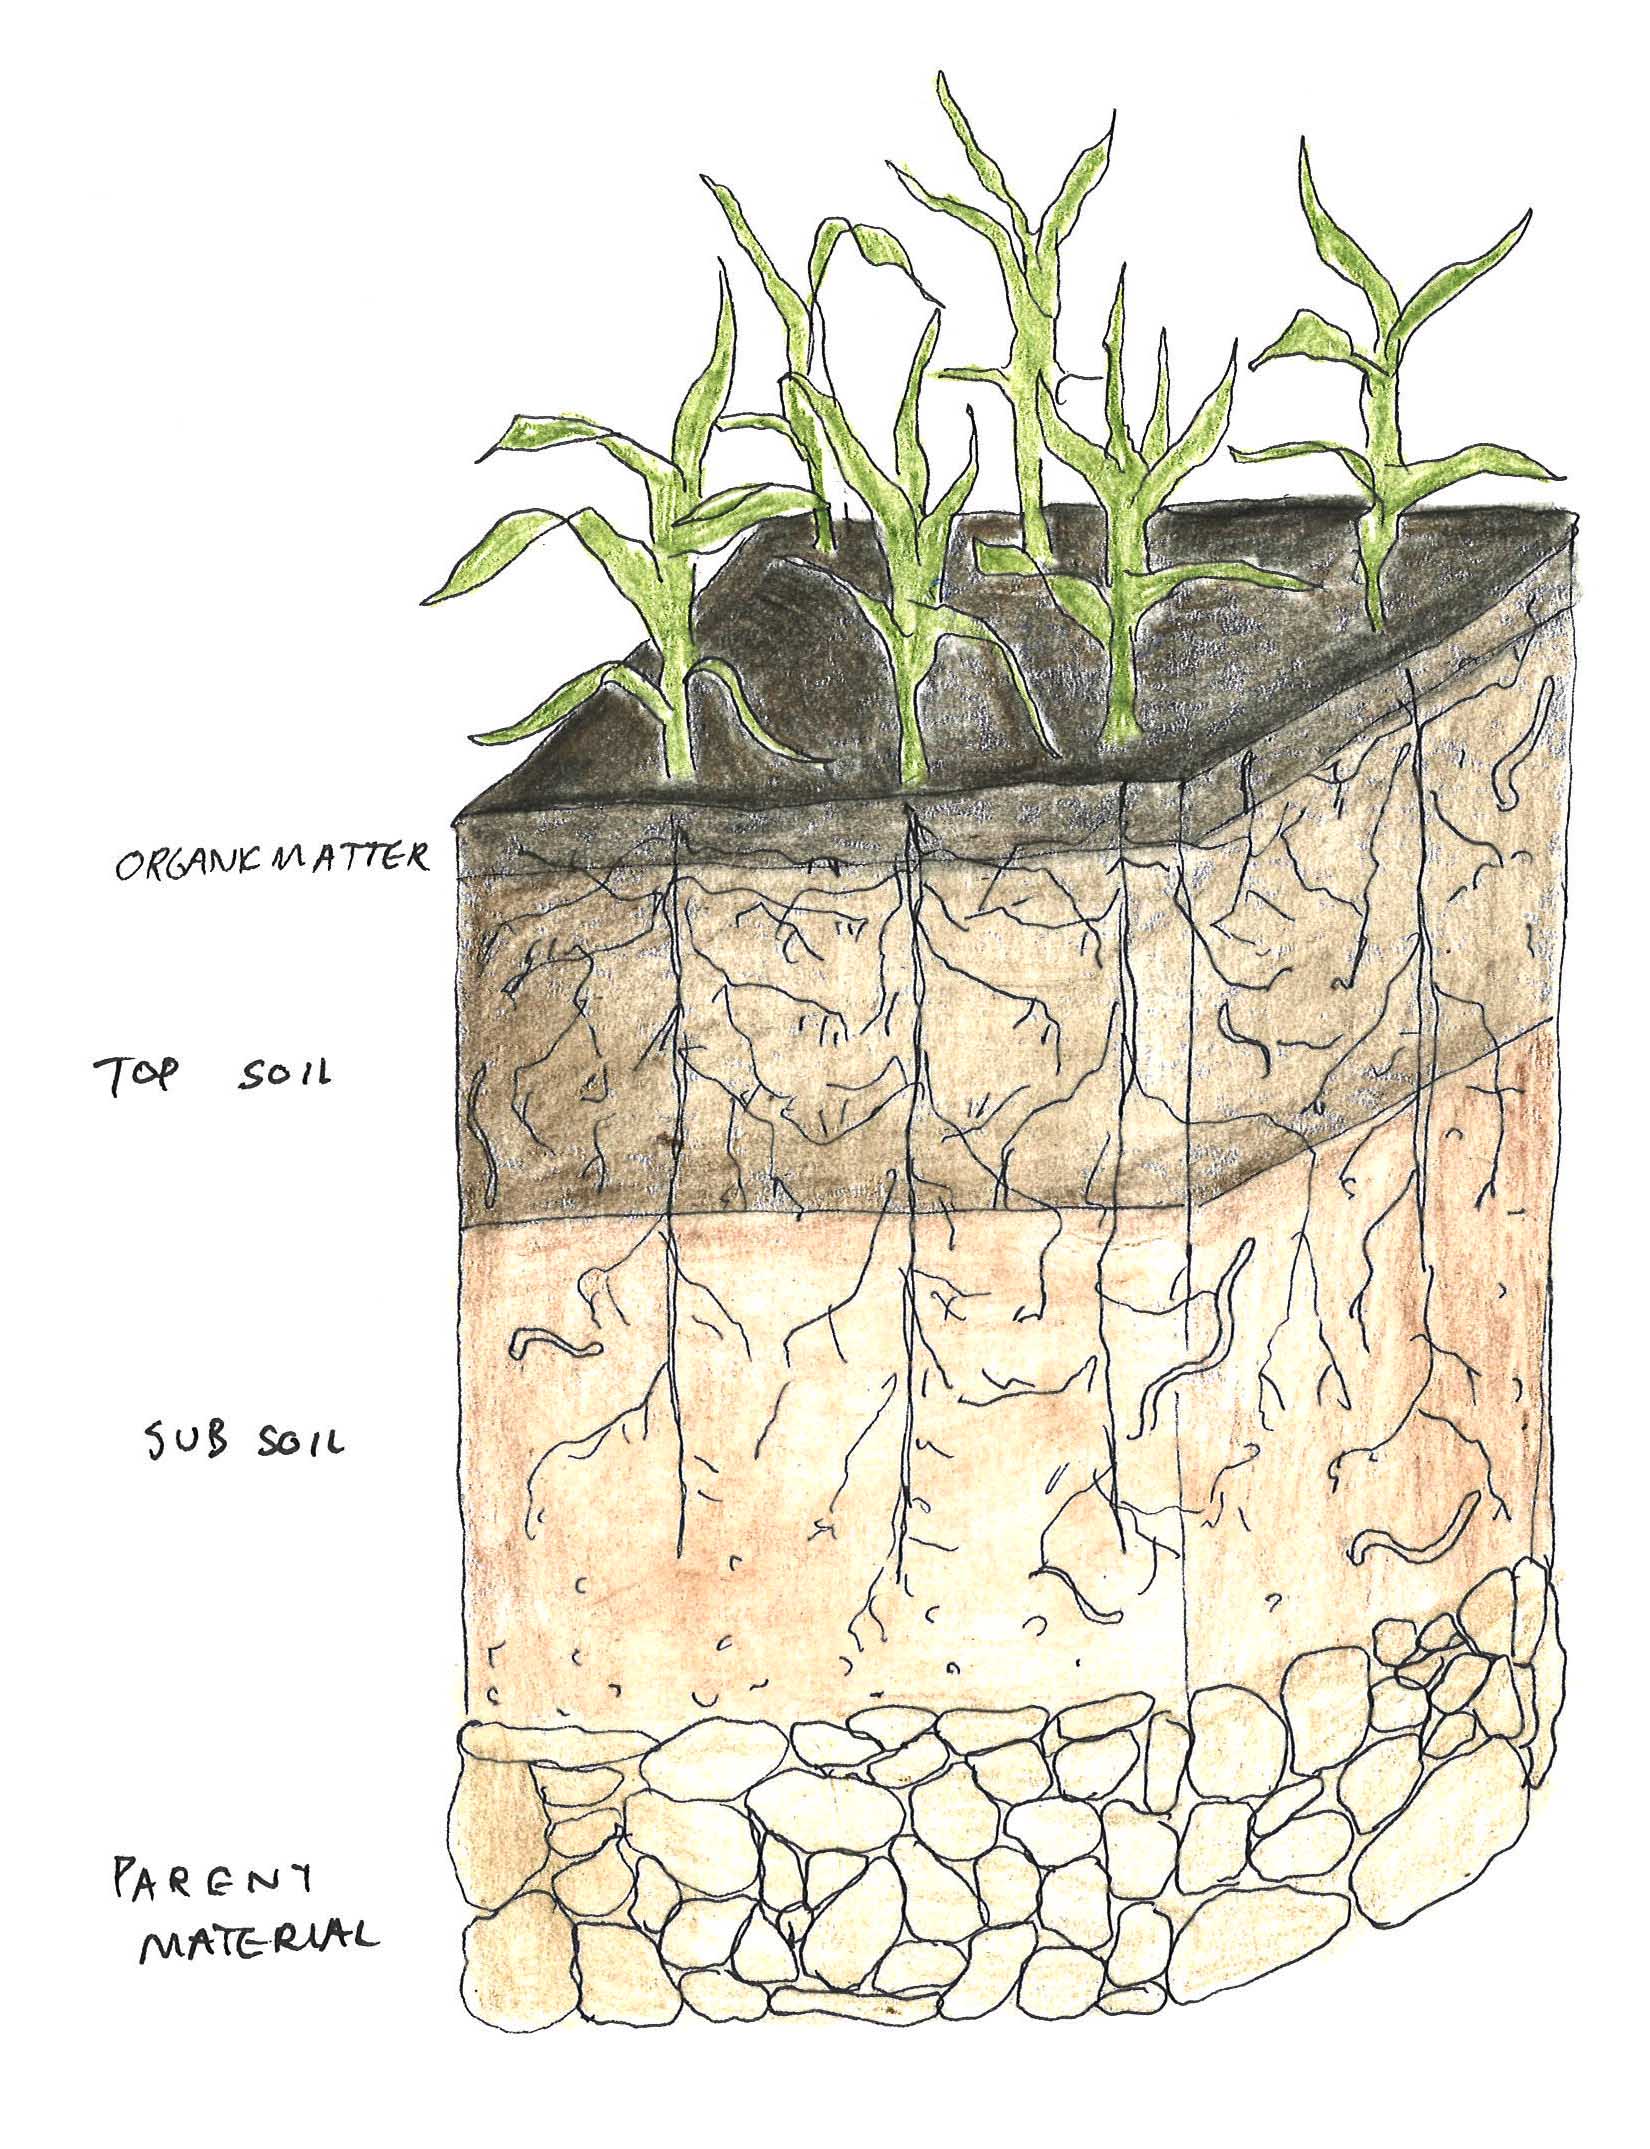
For the soil’s biology to function properly, and for plant roots to be able to colonise the bed quickly, it is crucial to have sufficient air in the soil. The deeper that air can be brought into the soil, the deeper the biological community can thrive. A healthy soil structure has about 50 per cent of its volume in pores, or open space, which are usually half filled with gases and half with water. Once the soil has been loosened, you can try to avoid compacting the soil by keeping it covered with plants or mulch, and by not stepping on it.
An essential attribute of healthy soil is that it does not have a hardpan. What is a hardpan? It is a layer of soil, usually in the topsoil layer or just below it, that neither water nor plant roots can penetrate. Many things can cause a hardpan, and most soils have one to some degree. One of the causes of a hardpan is compaction by vehicle, human and animal traffic. It can also be caused by leaving the ground exposed for long periods, from chemical use, drought, improper watering and acidic soils.
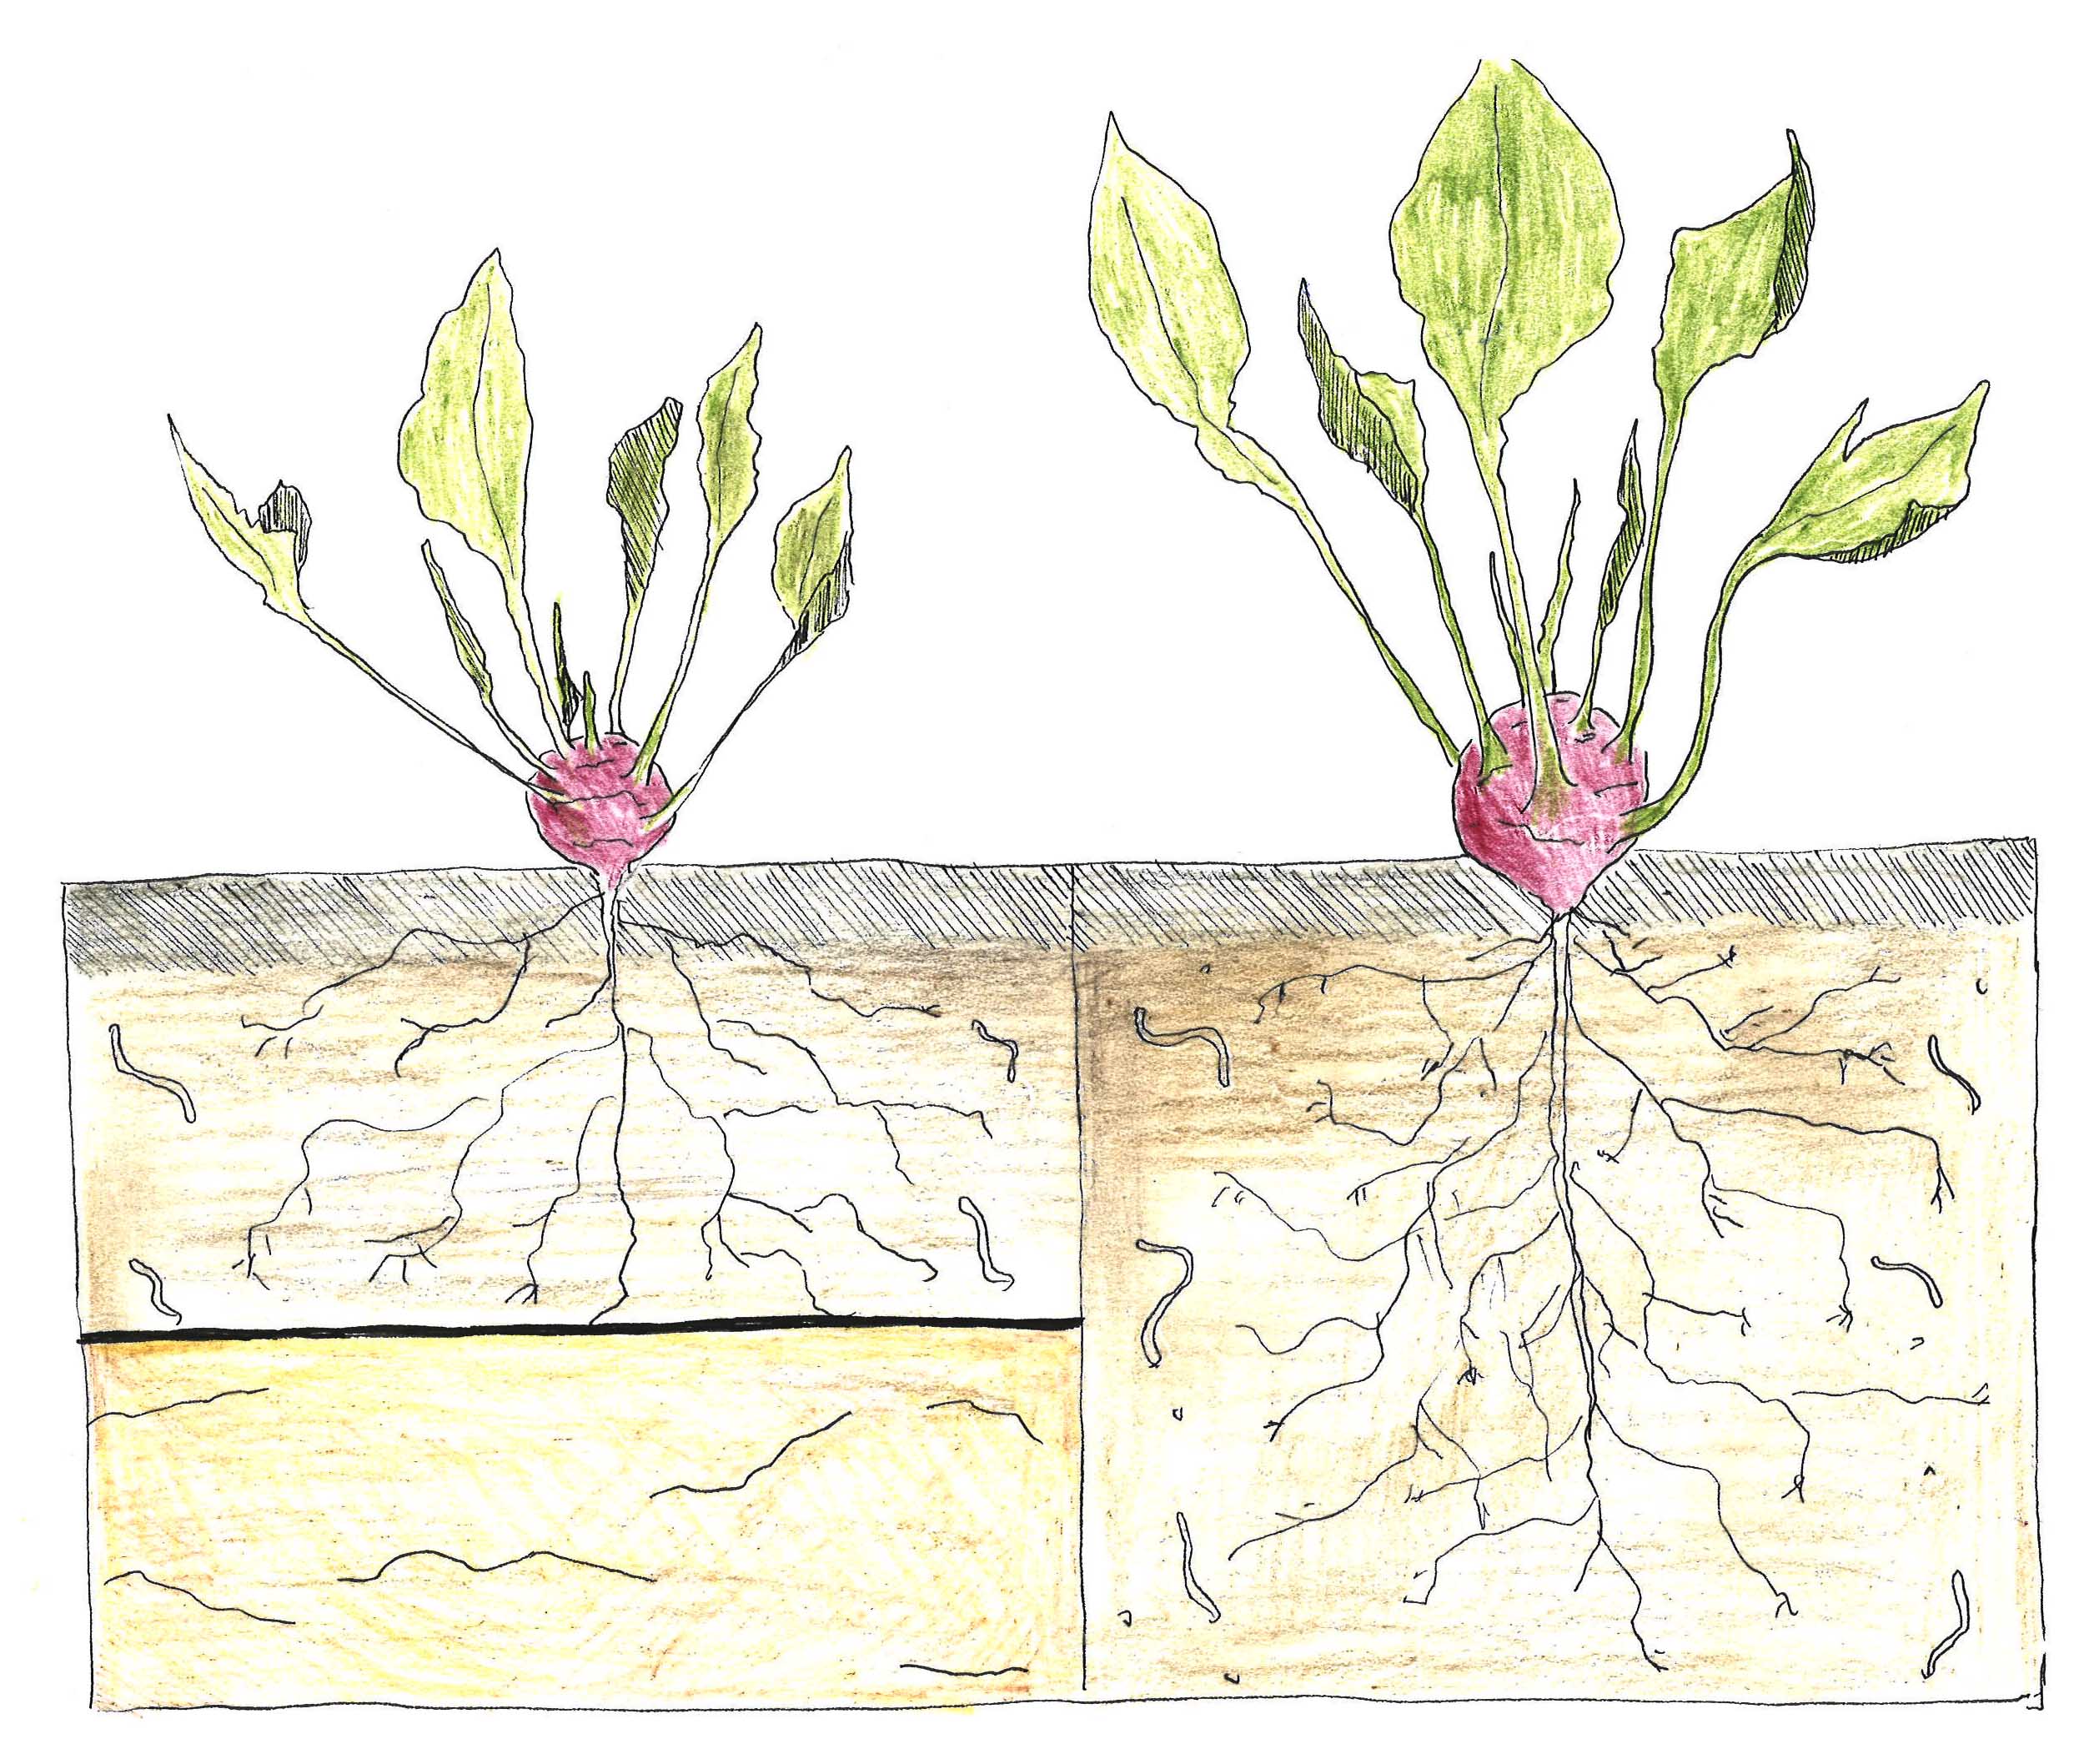
Eliminating the hardpan in the vegetable garden is very important, as it allows you to cram many more plants into the same bed, increasing your yields dramatically. There are two main strategies for breaking down a hardpan. The easiest method is a “slowly but surely” approach, adding organic matter and allowing creatures such as earthworms and plant roots to break the hardpan for you over a few seasons. This can be achieved with or without supplemental forking.
The other option is more labour-intensive, and requires digging deep or forking and physically breaking the hardpan up. In severe hardpan cases, this is the only way to get rid of it. We find that as long as the topsoil layer is not mixed with the subsoil layer, making a mess in the topsoil layer to break up the hardpan does not cause any long-term damage.
When hardpan is found in acidic clay soils, whether it was caused naturally or not, adding a small amount of gypsum or lime can help to break up the hardpan and keep the soil loose.
When organic matter levels are high, and the soil’s biological community is healthy, the soil’s structure is typically good, too. Crumbly soil is an indicator
of good soil structure, which is also characterised by fine aggregates with
no significant soil clods, free-draining rather than puddles on the surface,
and a sweet smell, which is a result of aerobic conditions.
As well as providing a great habitat for plants, healthy soil is resilient. It recovers well from disturbances such as extreme weather events, and is better able to withstand degradation and erosion.
Marking The Garden
First, let’s start by figuring out how your garden design translates to your site. Mark the garden perimeter and the width and length of your future garden beds with objects such as stakes, string, rocks or even liquid chalk.
With the visual representation of the garden laid out on the actual site, you can now “try it out”. Walk on the paths you marked through the garden, pretend to be doing garden tasks and see how they feel. This is your opportunity to make any tweaks to the design. Make sure the garden makes sense, and the position and flow are good. Is it easy enough to navigate between beds? Is it comfortable to carry the harvest to the house from the various parts of the garden? Is there any shading that you did not expect over your growing area?
No-Dig In-Ground Beds
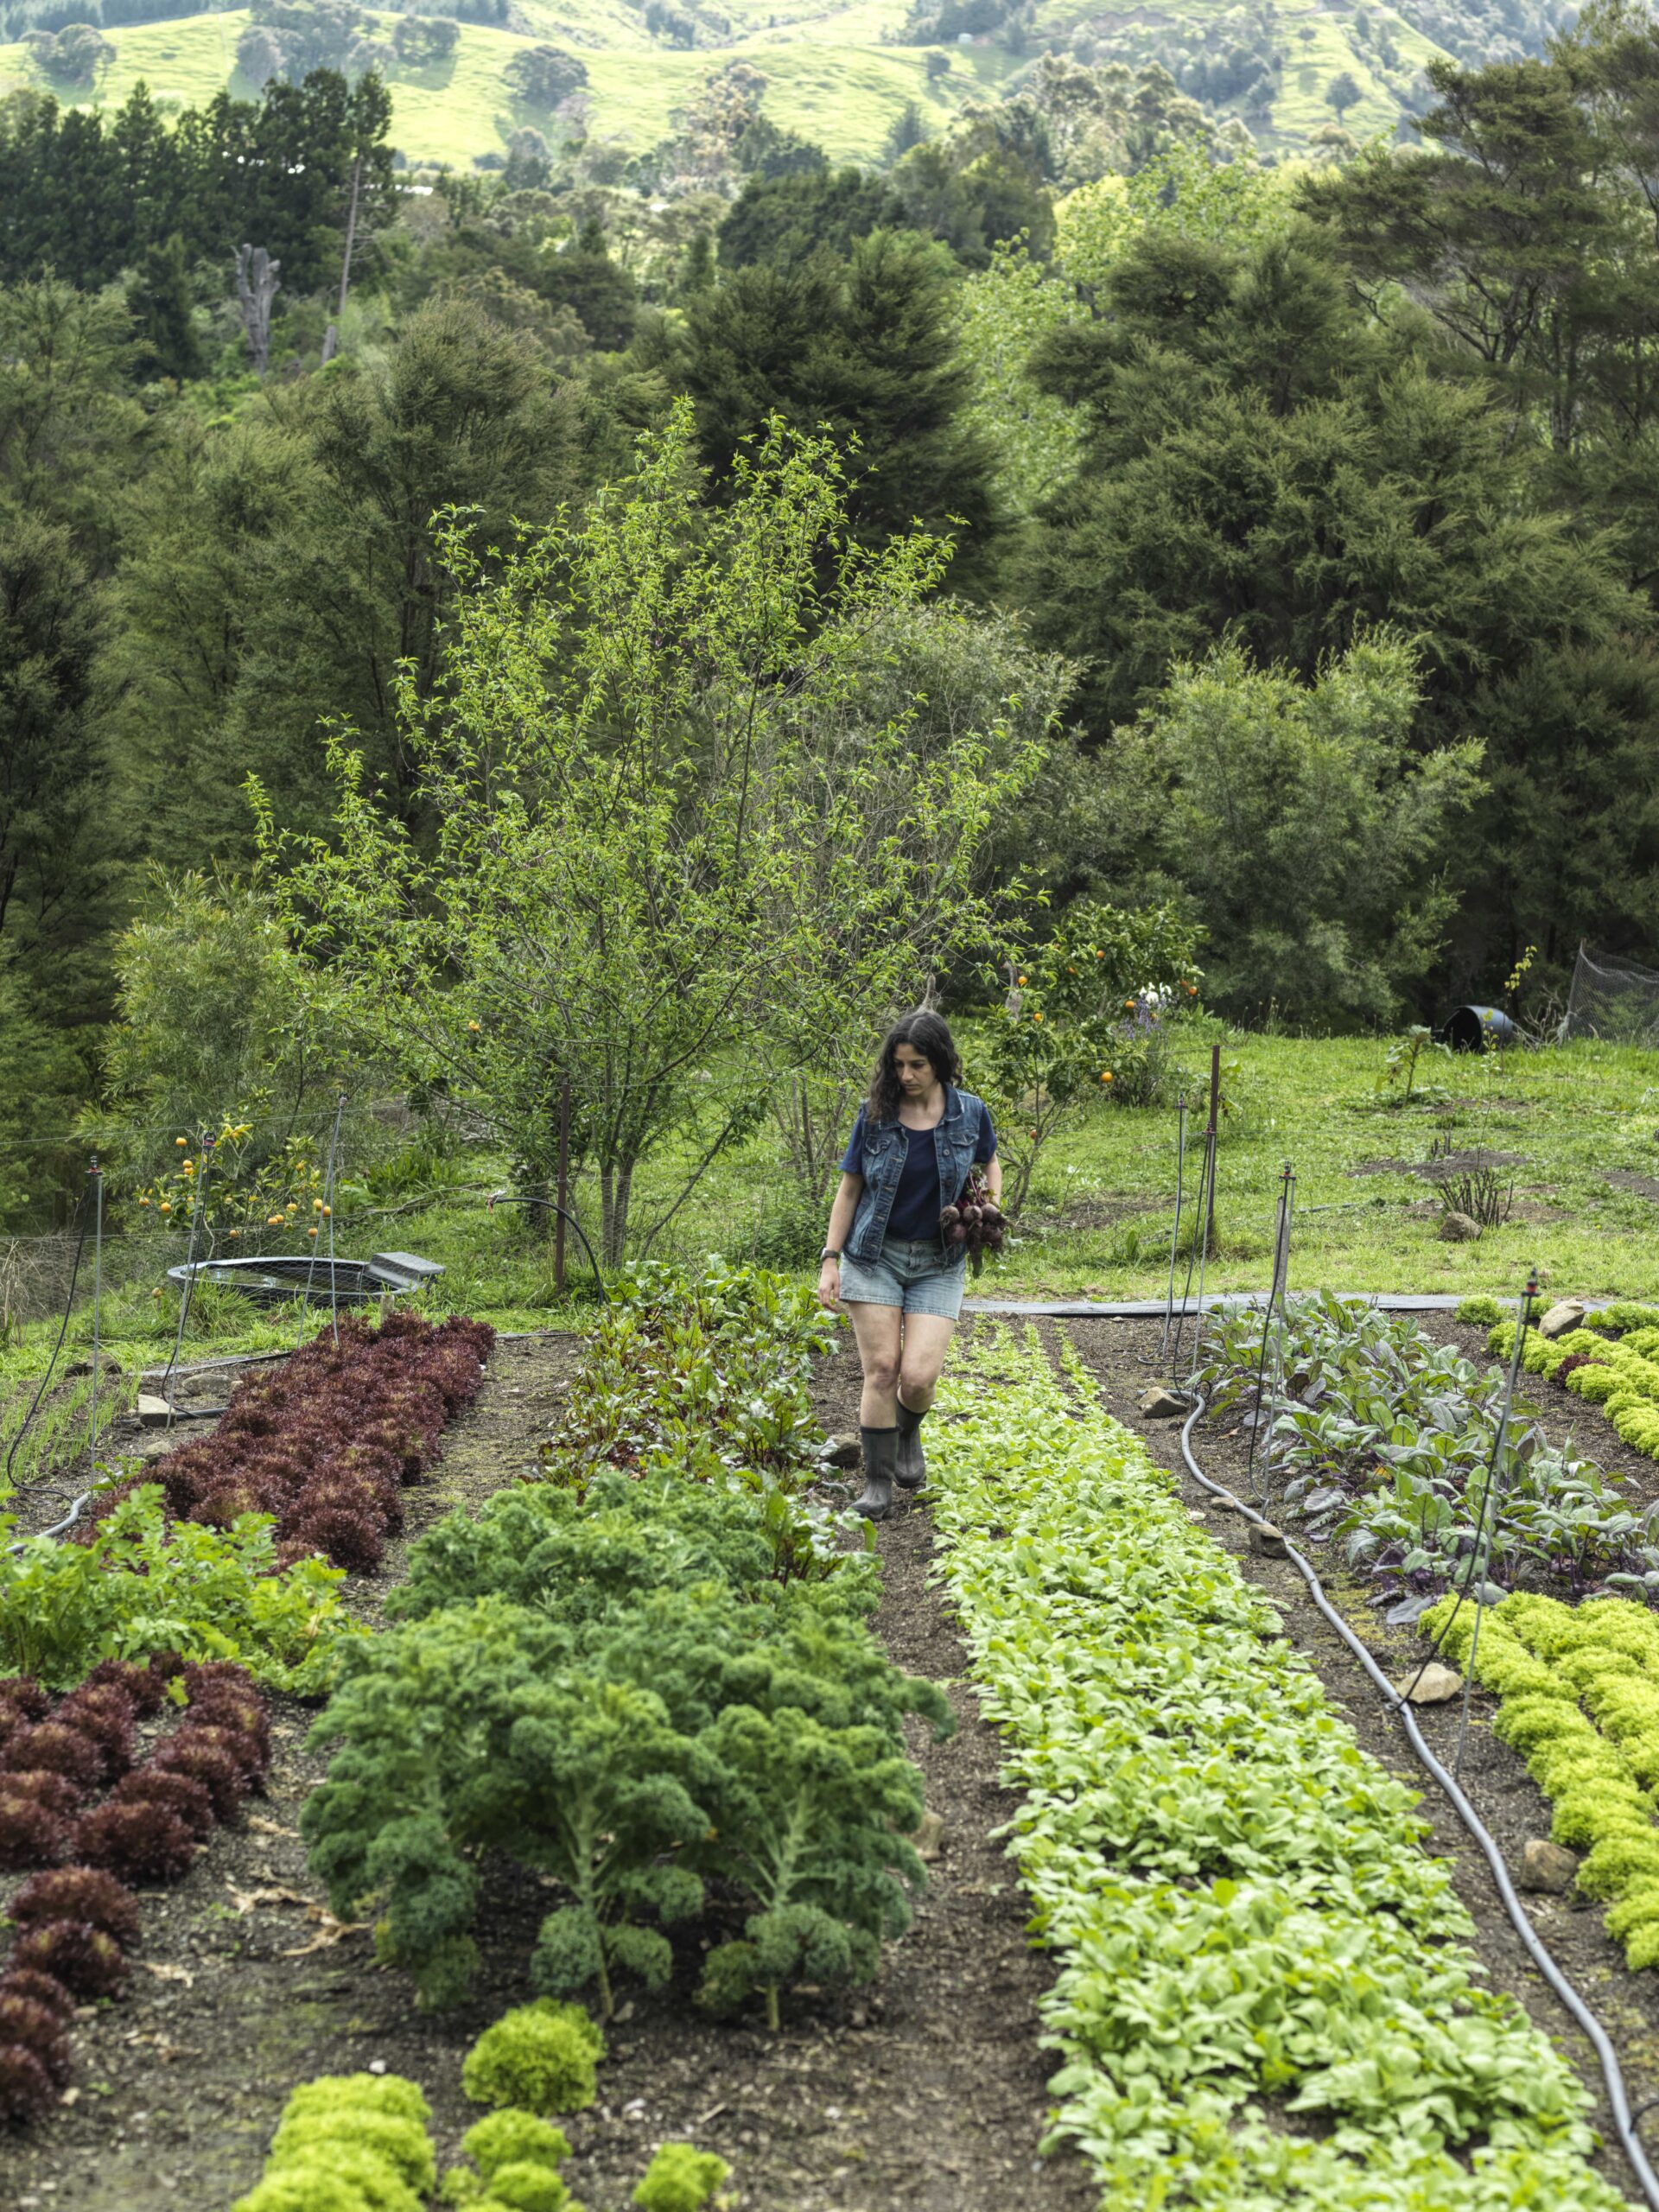
We prefer no-dig in-ground beds and we have used this gardening technique when establishing our own gardens. This approach requires no external inputs besides your labour, and it is fairly light work. To make this system work, you do need some topsoil on your garden site. If you don’t have at least 20cm of topsoil, this might not be the system for you. Instead, look at framed raised beds as a potential starting point. If you do have topsoil, the no-dig in-ground system offers the highest return for the amount of energy invested than any other gardening method we know. It involves simply eliminating any existing ground cover and forking to loosen up the soil.
Eliminating The Existing Ground Cover
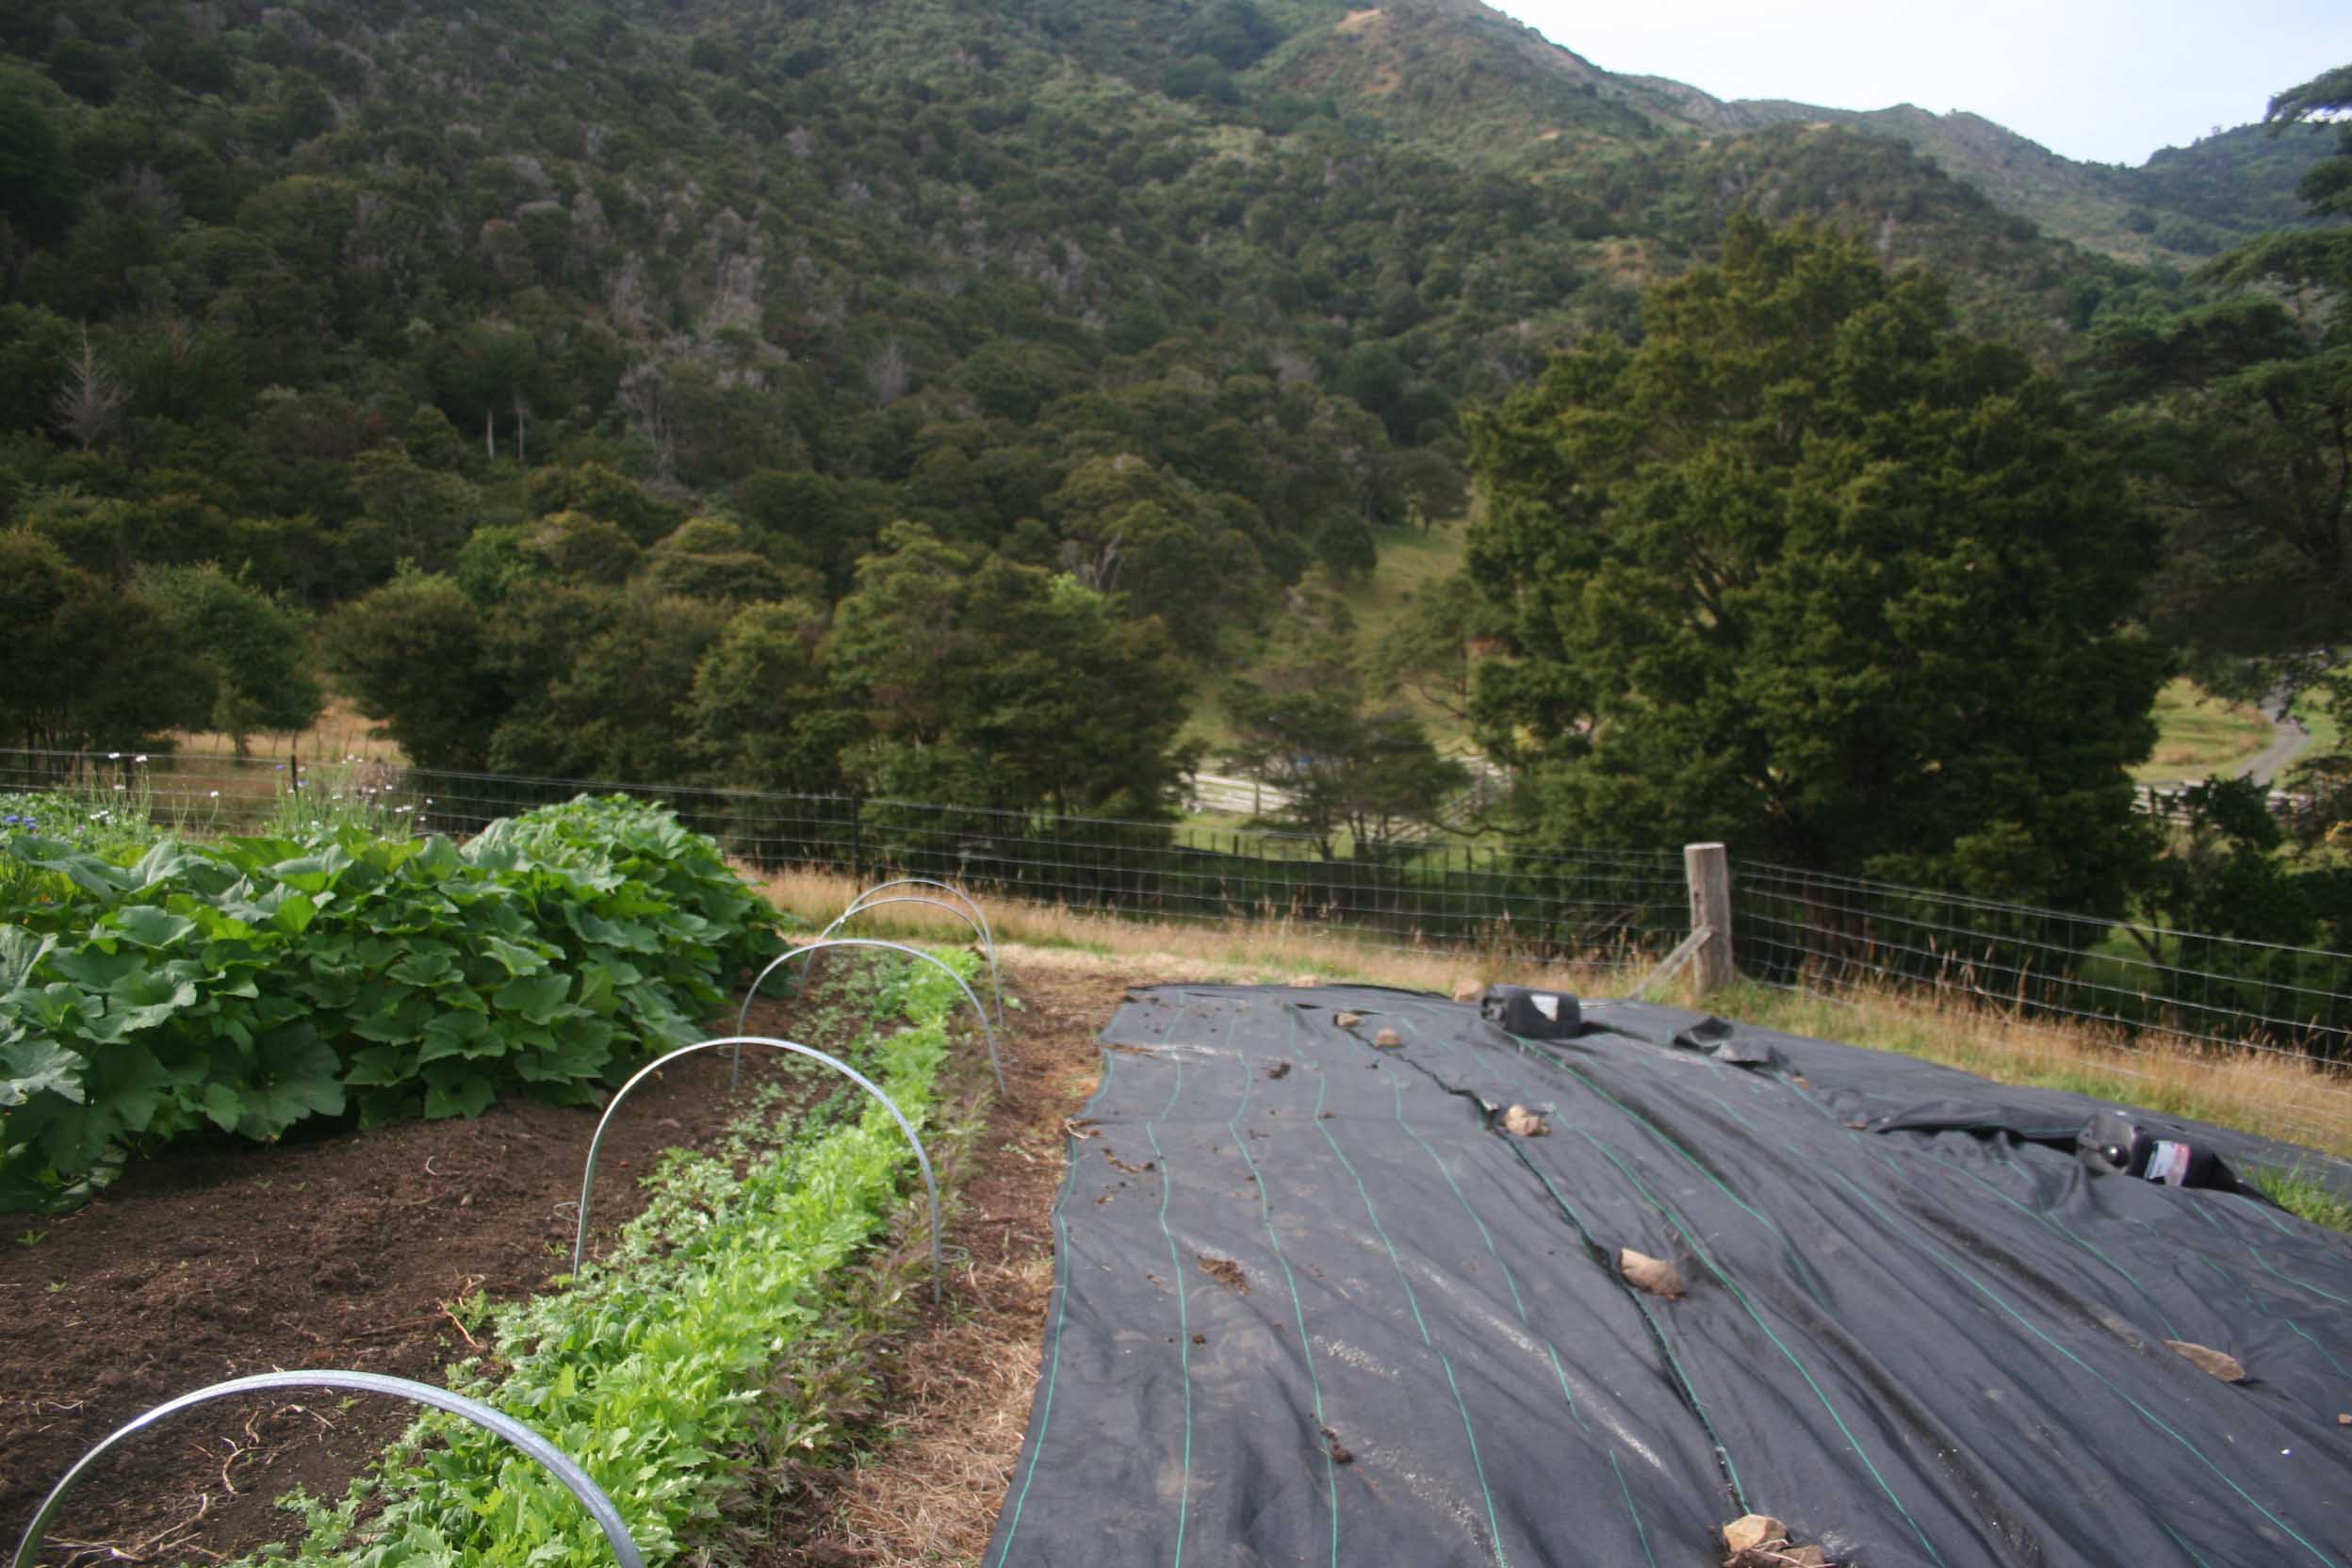
When we start a new garden, the first step is to remove the existing ground cover. Perennial vegetation such as a lawn or paddock must be completely dead before you start growing vegetables in that area. If not thoroughly eliminated, the grasses and weeds will regrow. It is very labour-intensive to remove this vegetation by hand, so it’s therefore crucial to get rid of the perennial ground cover before starting to grow vegetables, and it makes it much easier to manage the garden weeds from that point.
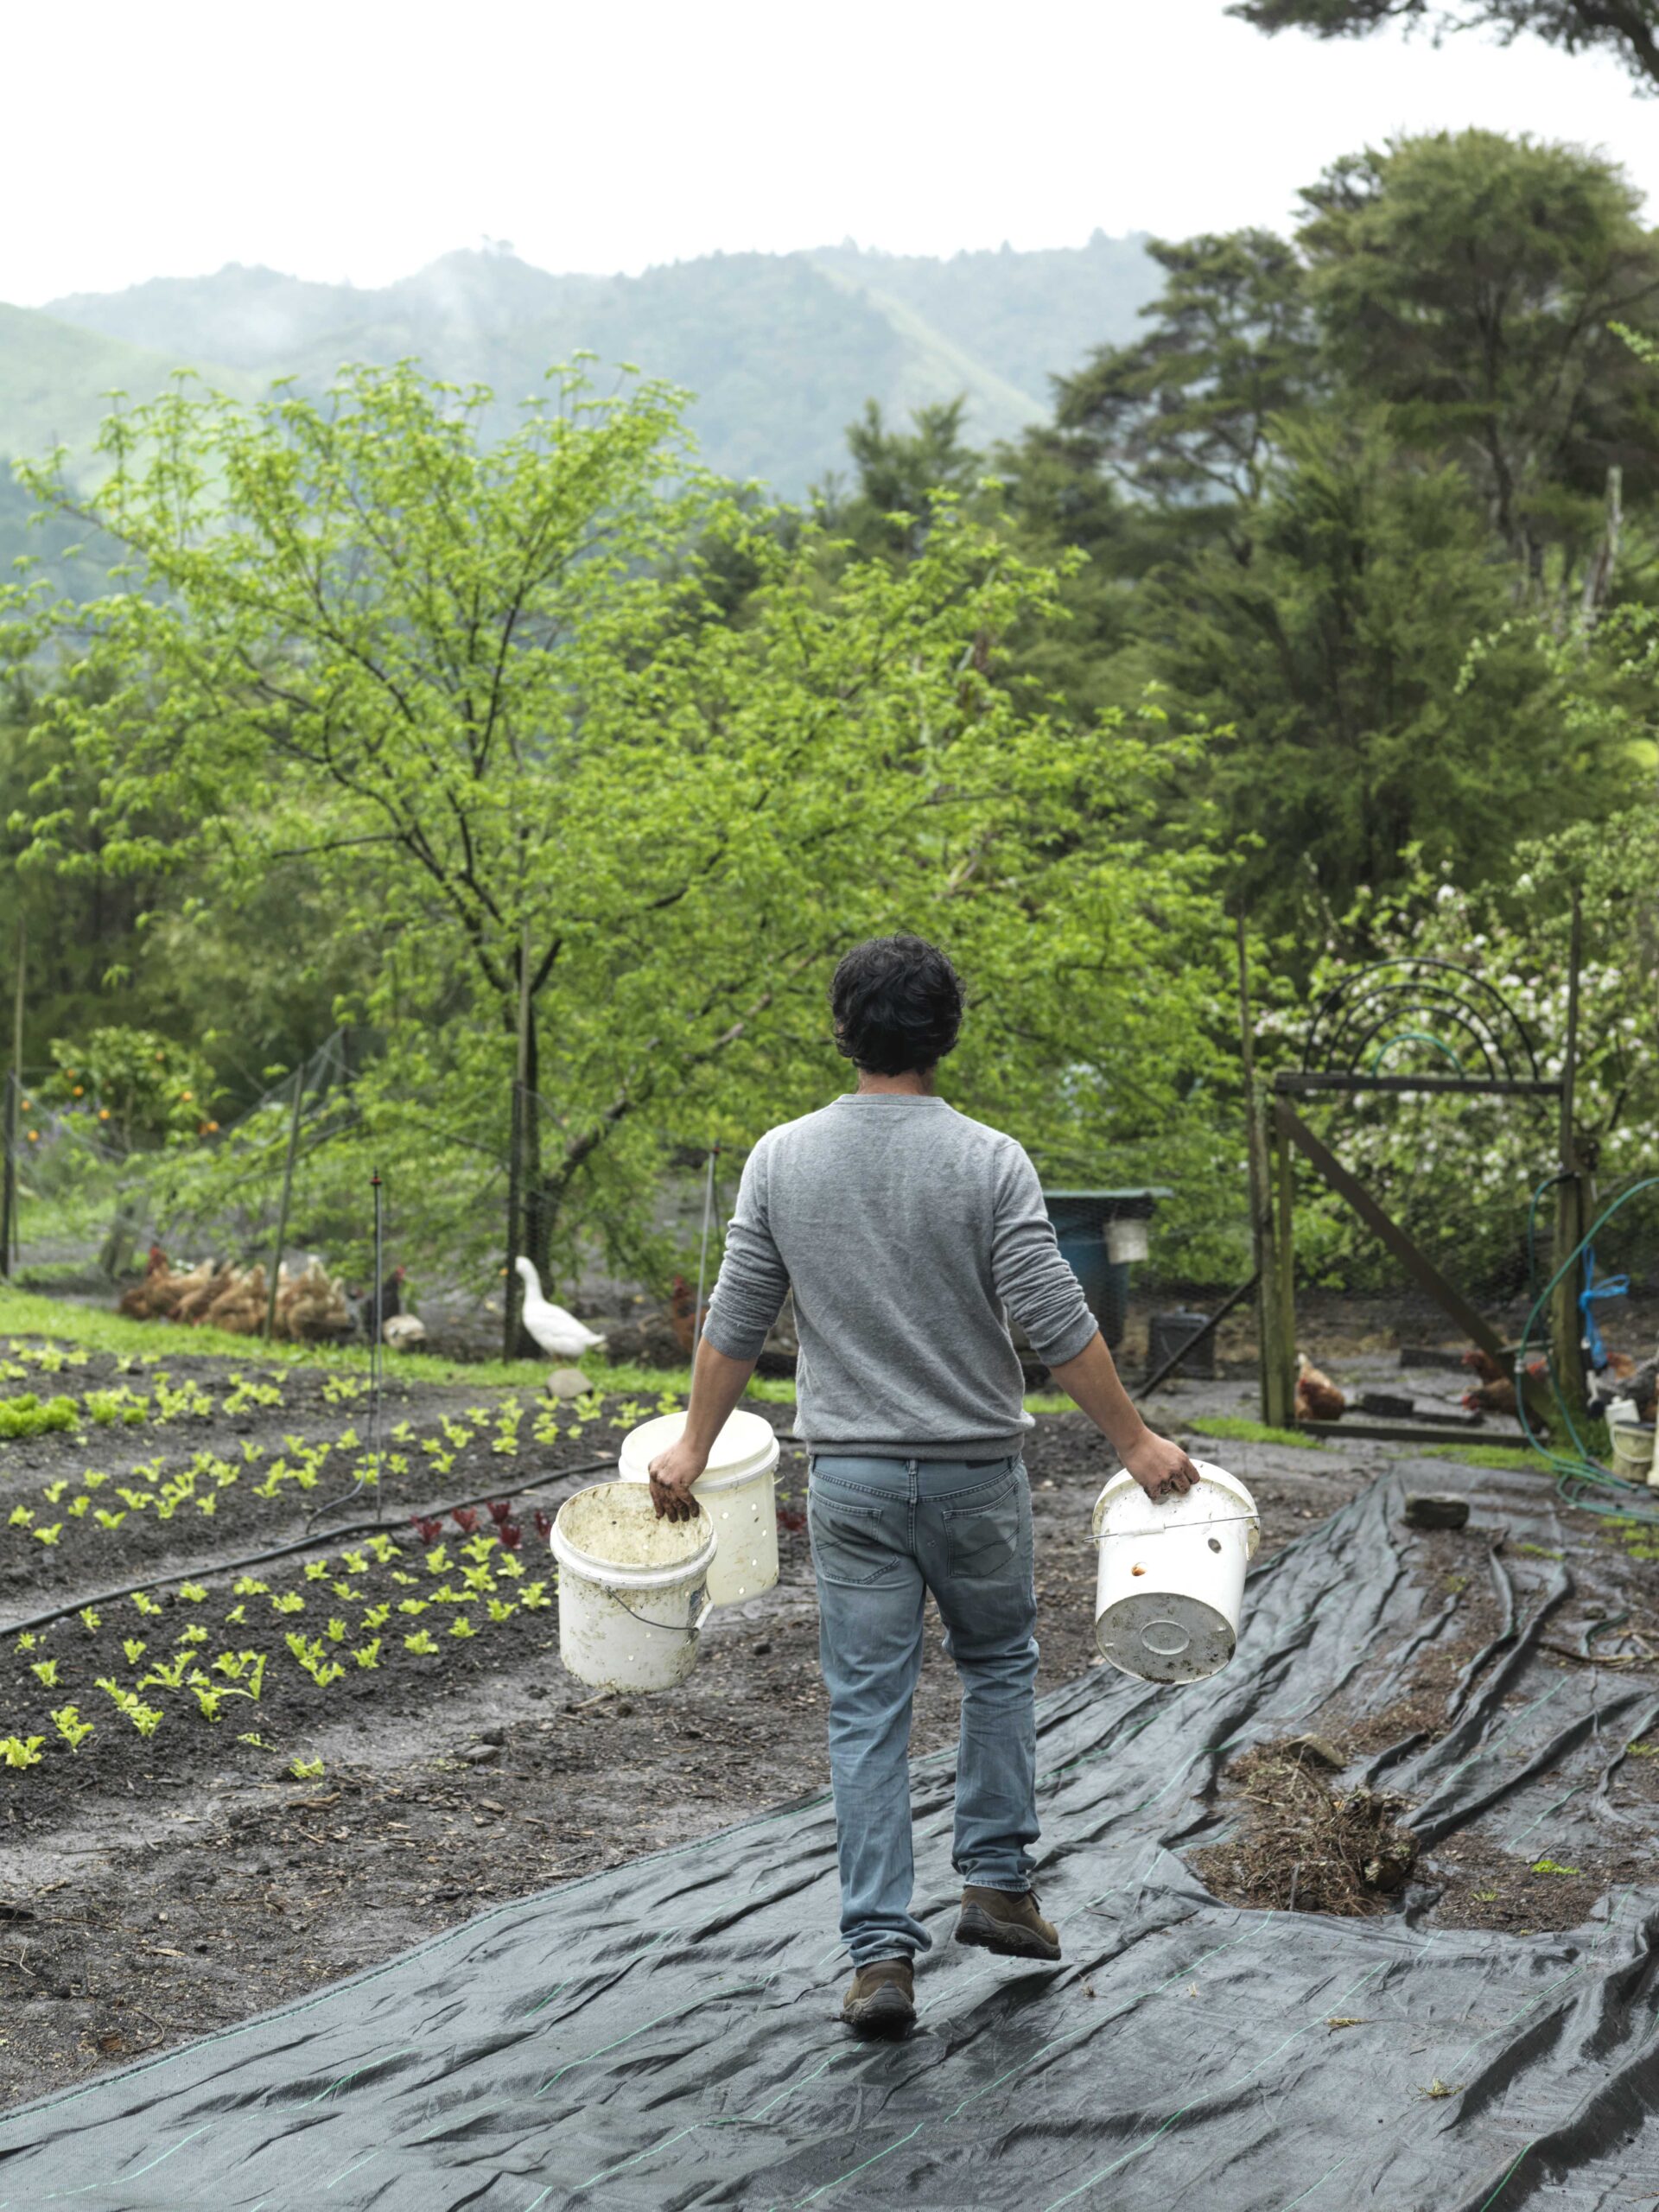
We like to cover the entire area with weedmat (woven landscaping fabric), tarps or a heavy layer of woodchips. Besides being effective, worms thrive on the stable, moist environment below.
The theory behind this method is that the vegetation will die out due to the lack of access to sunlight, coupled with the high temperature resulting from using weedmat and tarps. This process can take as little as a month in summer if the grass is kept short. Most grasses and plants will take two to three months to completely die, especially when the vegetation is high, and the plants have significant energy reserves. To assist this process, always mow the vegetation low before covering the area. Covering a wider area also helps get rid of tough grasses such as kikuyu and couch, as it deprives them of places to re-establish themselves.
When using weedmat or tarps, be sure to lay them out with adequate weights or pins, so they don’t flap or fly away on a windy day. This also speeds up the process in the summer, as the heat “bakes” the covered vegetation. If you are planning a fairly big garden and have a limited amount of covers available, you can do this section by section. As you move the covers between areas, your newly uncovered section can be turned into garden beds and planted with crops.
When applying woodchips, a thick layer of at least 20cm is needed to suppress the existing vegetation. Placing a layer of cardboard on the ground before covering it with woodchips can help. If any weeds do pop up, make sure to pull them out as early as possible.
Chickens can do a great job of clearing an area by eating and scratching the existing vegetation. If you decide to fence an area for them to clear, you should still let them graze outside this area for a few hours a day. Otherwise, it is best to bring them fresh vegetation to eat, in addition to their regular feed, so that they continue to have a healthy diet while clearing your new garden area.
If you are in a hurry to get started, you can dig and remove the top 5cm of soil, including all the vegetation. This soil is the most fertile part of your topsoil, so don’t throw it away; instead, pile it up and cover it with a tarp. Once the vegetation dies off, you can incorporate it back into your garden beds. You could also loosen the ground and pull out the weeds one by one, but we’d much prefer to use time as our ally and avoid unnecessary work!
Forking, Not Digging
After removing the cover, or moving the woodchips to the side, it’s time to mark the beds again. We use string and stakes to mark our beds and paths, to help keep them lined up and even. It helps to tie the string on the stakes 30cm or so above ground, so the strings are out of the way of forking.
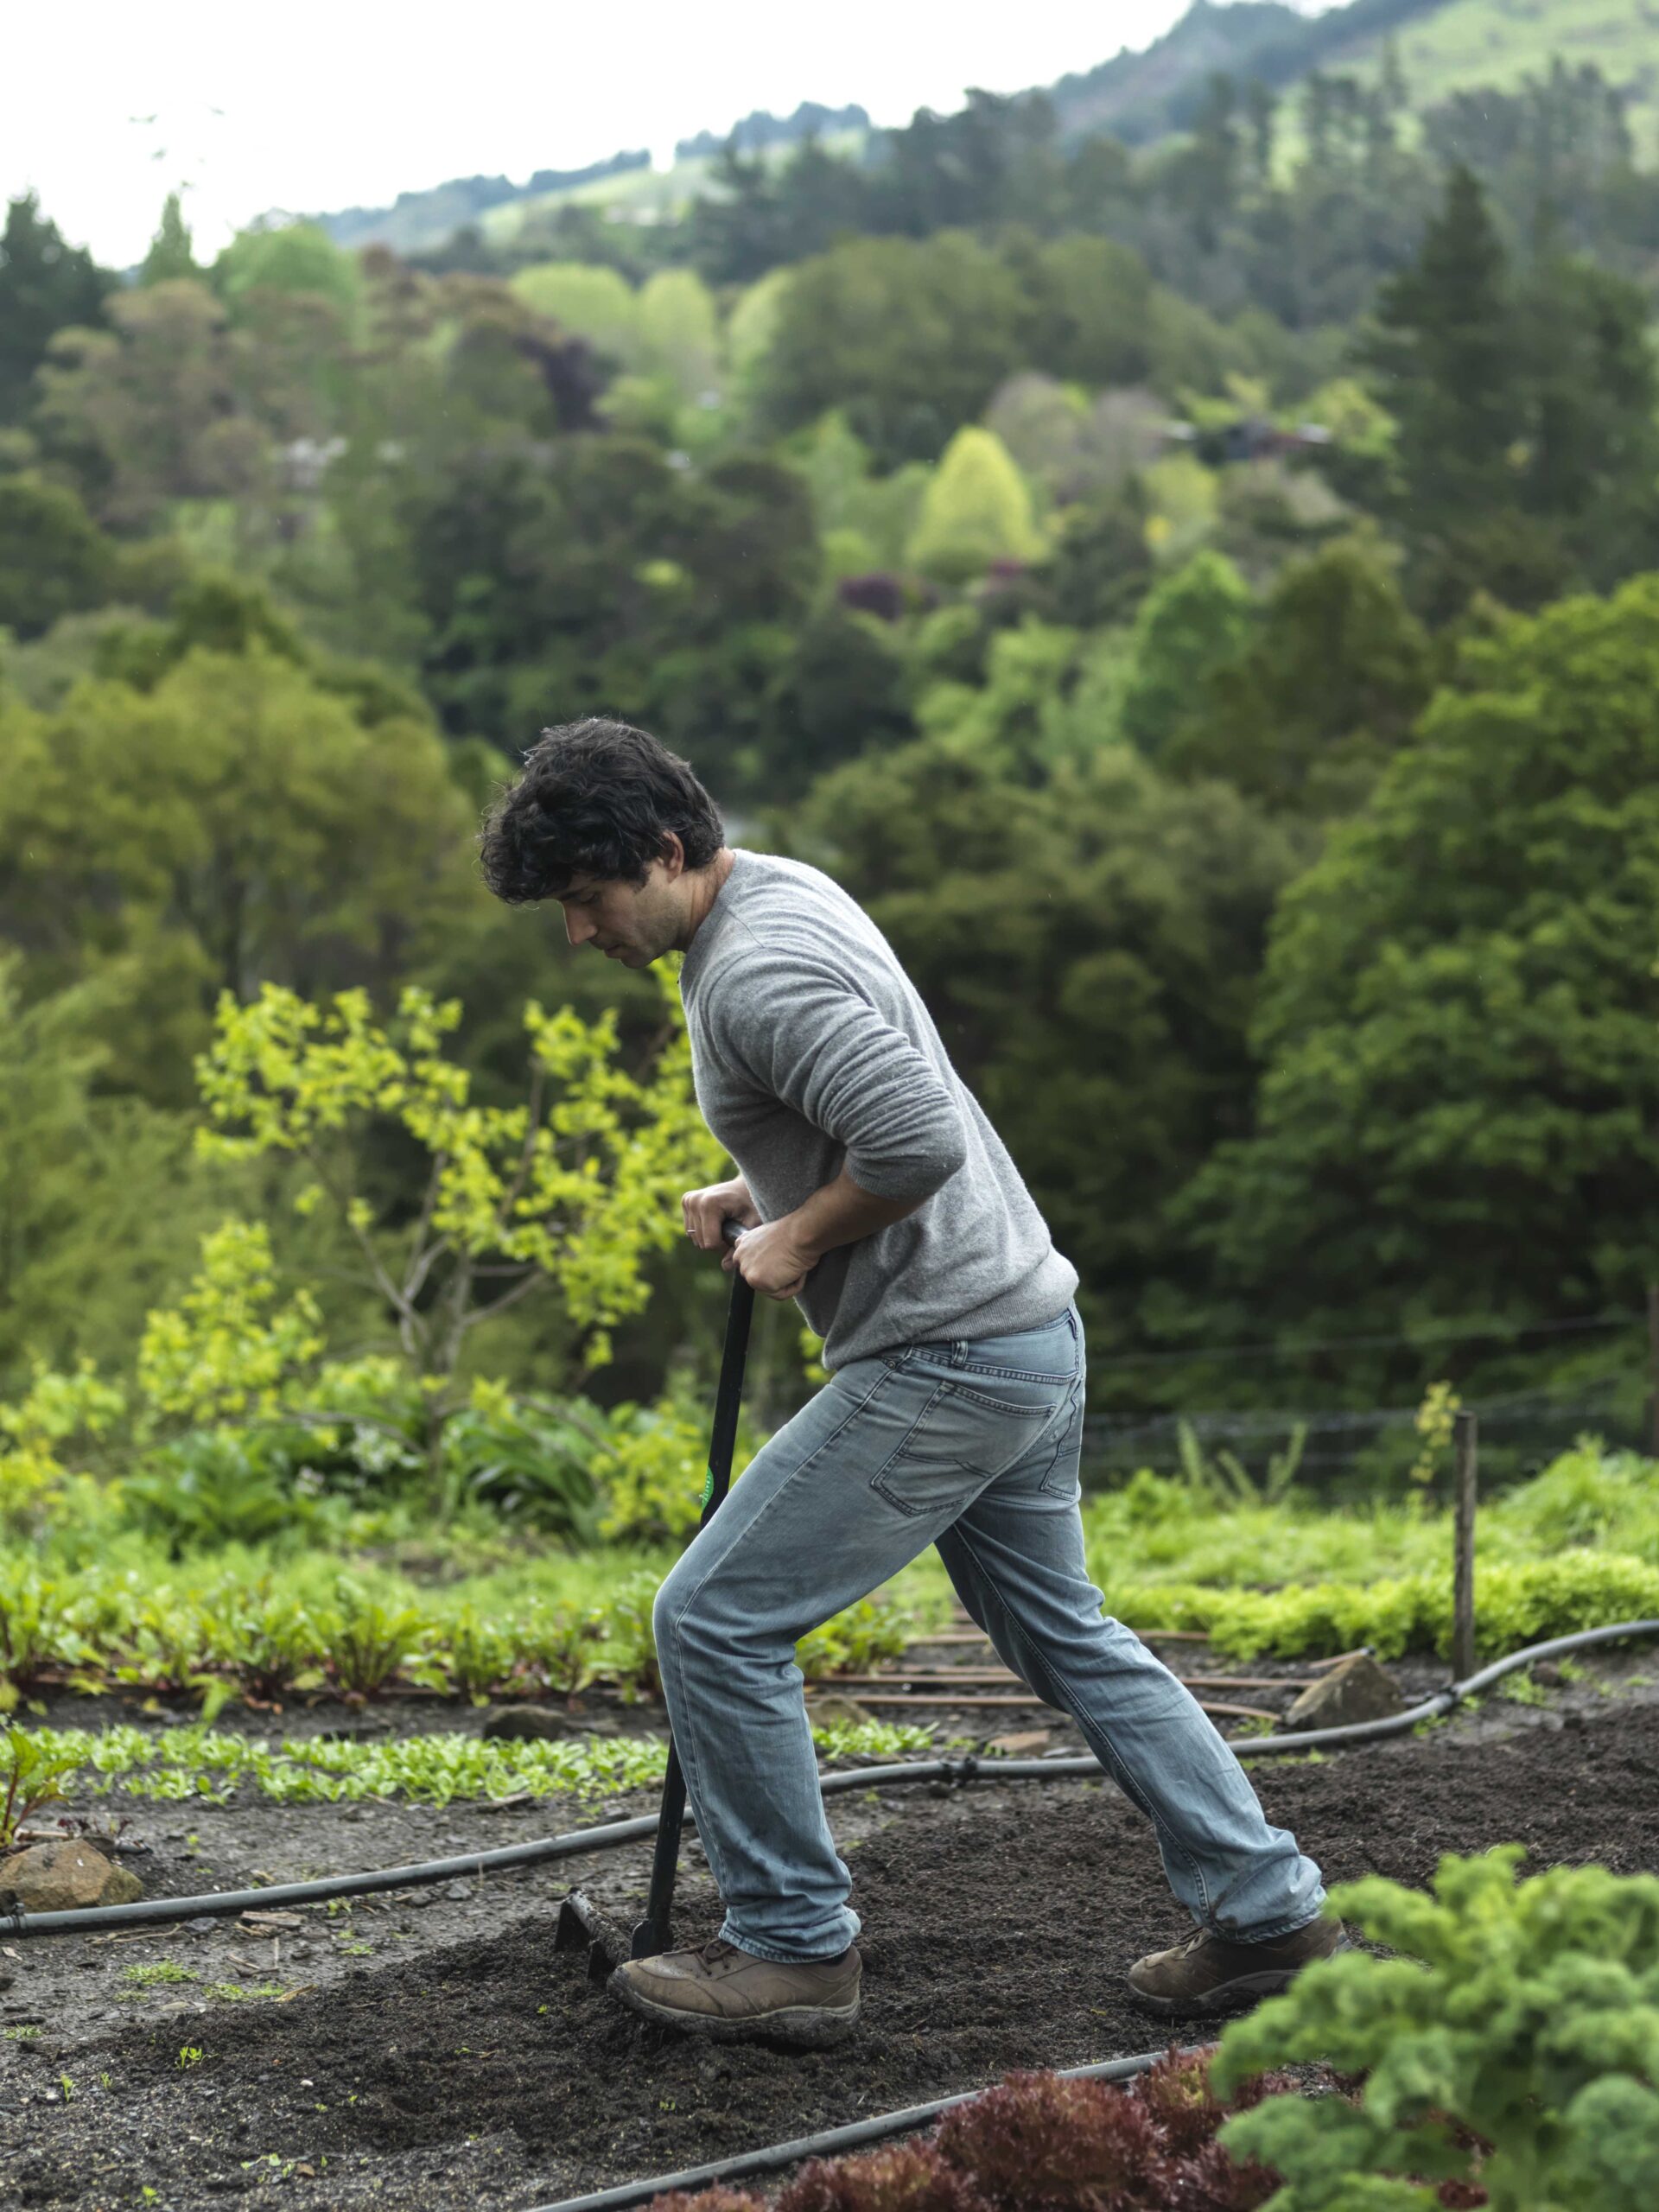
Using a sturdy fork, push the fork into the ground, as deep as you can without using excessive force. Orienting the fork on a slight angle towards the bed will allow for better body alignment while forking. In rocky soils, wiggling the fork from side to side or front to back helps to pass it through the rocks.
Once the fork is in the ground, slightly pull the fork towards you. You should be able to do this activity with a straight back and good posture. The movement of the fork in the ground is intended to loosen the soil without breaking the soil’s structure.
When you encounter too much resistance from the soil, take the fork out and take another bite, 5cm apart. You don’t need to use excessive force. No need to break your fork or your back!
Go as deep as you can but don’t worry if you can’t get the fork all the way into the soil the first time you open up a new bed. With every growing season, as you add organic matter and keep the soil moist, the plants’ roots will reach deeper and deeper, allowing you to reach greater forking depth. After a season or two, we prefer to use forks with 30cm tines to achieve greater depth in the soil.
Keeping your soil’s structure intact is very important for building up the soil’s living community. This is why the no-dig approach is so vital for ongoing soil health.
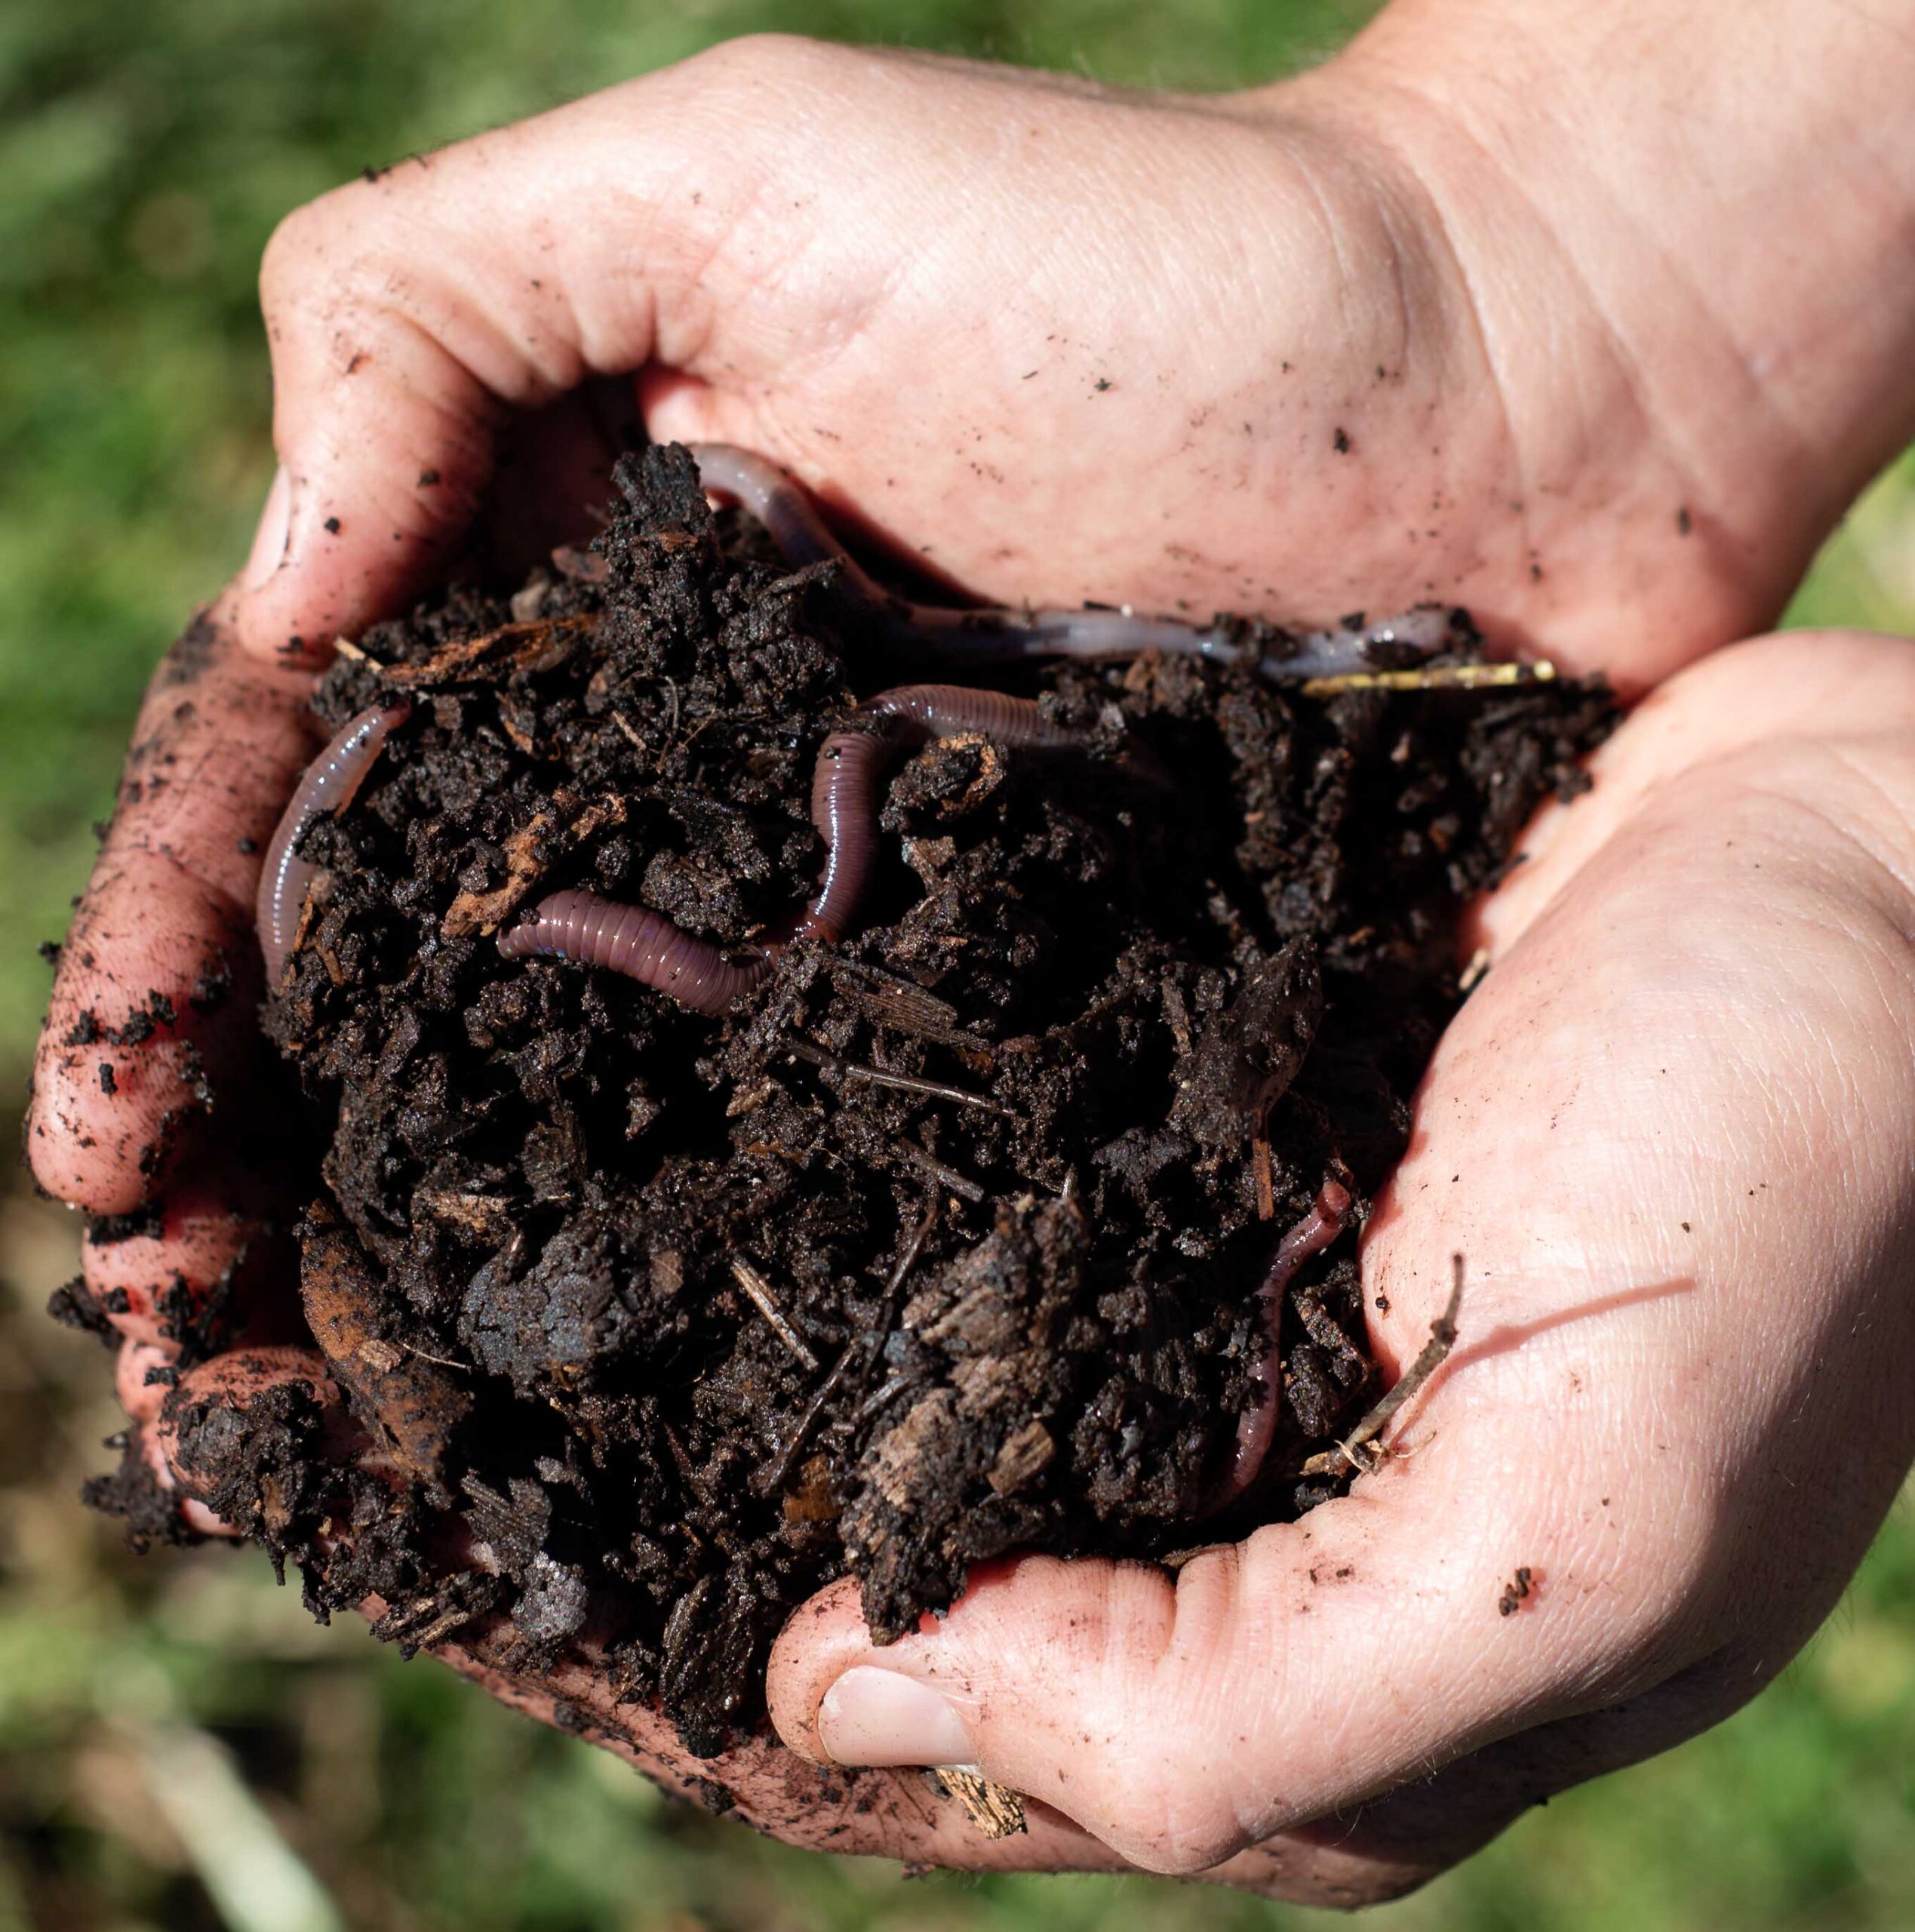
Forking the soil also introduces air to the soil microbes, without inverting the soil’s layers. When digging and flipping the soil, the layers get mixed up, and the living community suffers a huge disturbance. Organic matter from the top is now found deep in the soil, where there isn’t enough air for aerobic biological activity to break it down. Without enough oxygen, anaerobic digestion can occur, which produces methane gas, as well as hydrogen sulphide, which smells like rotten eggs. The organic matter ends up turning into a sludge-like material that is harder to further decompose.
When working in compacted soil, the key is to “bite” into the soil with the fork in small chunks, taking a new bite every 5-10cm. Pull the fork backwards towards you so there is less resistance to the forking action when every bite is going into the already loosened ground. Forking this way doesn’t only make it easier to do with less effort, it also helps break the soil into small pieces, avoiding large clumps. With every consecutive bed forking between crops, you will eventually be able to increase the gap between bites to every 30cm or so. Dig out any rocks you find, so eventually the growing bed will be only filled with usable topsoil. If you are working in a rocky area, it might take a few seasons to get rid of all these stones, so keep at it.
When working with silt or clay soils, the soil needs to be moist to be able to fork it. If the ground is too dry, give it a good soak and return the next day.
Ideally, you will fork the garden bed as little as possible. Although it is a mild intervention to the soil’s structure, it is still an intervention. Initially, it is highly beneficial to fork the bed between every crop, as it improves the depth of the topsoil and brings in air as the soil compacts. Once the soil’s structure improves and the biological activity thrives, the soil needs less and less forking to maintain it.
Forking should be done in spring, to help boost soil life and recover from the compaction of winter rains. You can also fork if the crop going in will benefit; for example, carrots and parsnips need quite loose soil to grow deep and straight.
The soil doesn’t need to be super fluffy. In fact, too much aeration can be a problem for healthy root growth, and that excessive drainage makes it harder to keep water in the soil.
Amending The Soil
Once you have forked your new garden bed, it is time to add compost. When the bed is first formed, a layer of 5cm is a good start. The top 5-10cm of the soil is where most soil life and plant roots are concentrated, so mix the compost shallowly with the top layer using a rake. You can sprinkle a handful of broad-spectrum natural fertiliser per square metre, either below or above the compost. Remember that it is better to add small amounts often, rather than one hit.
Most compost gets used up by the soil’s biological community within three to six months, so it is better to spread it out in small amounts over the season. If you have a limited amount, use it in thinner layers. Even if you have lots, 5cm several times a year is plenty. There is a correlation between compost application and plant health and yield, but beyond a certain point, it stops making a difference.
We would only suggest adding more compost and mixing it deeply in very sandy or clay soils. Mixing the compost more deeply (up to 20cm deep) will help to build a better soil structure.
This is an edited extract from The Abundant Garden: A Practical Guide To Growing A Regenerative Home Garden by Niva and Yotam Kay (Allen & Unwin), $50.
