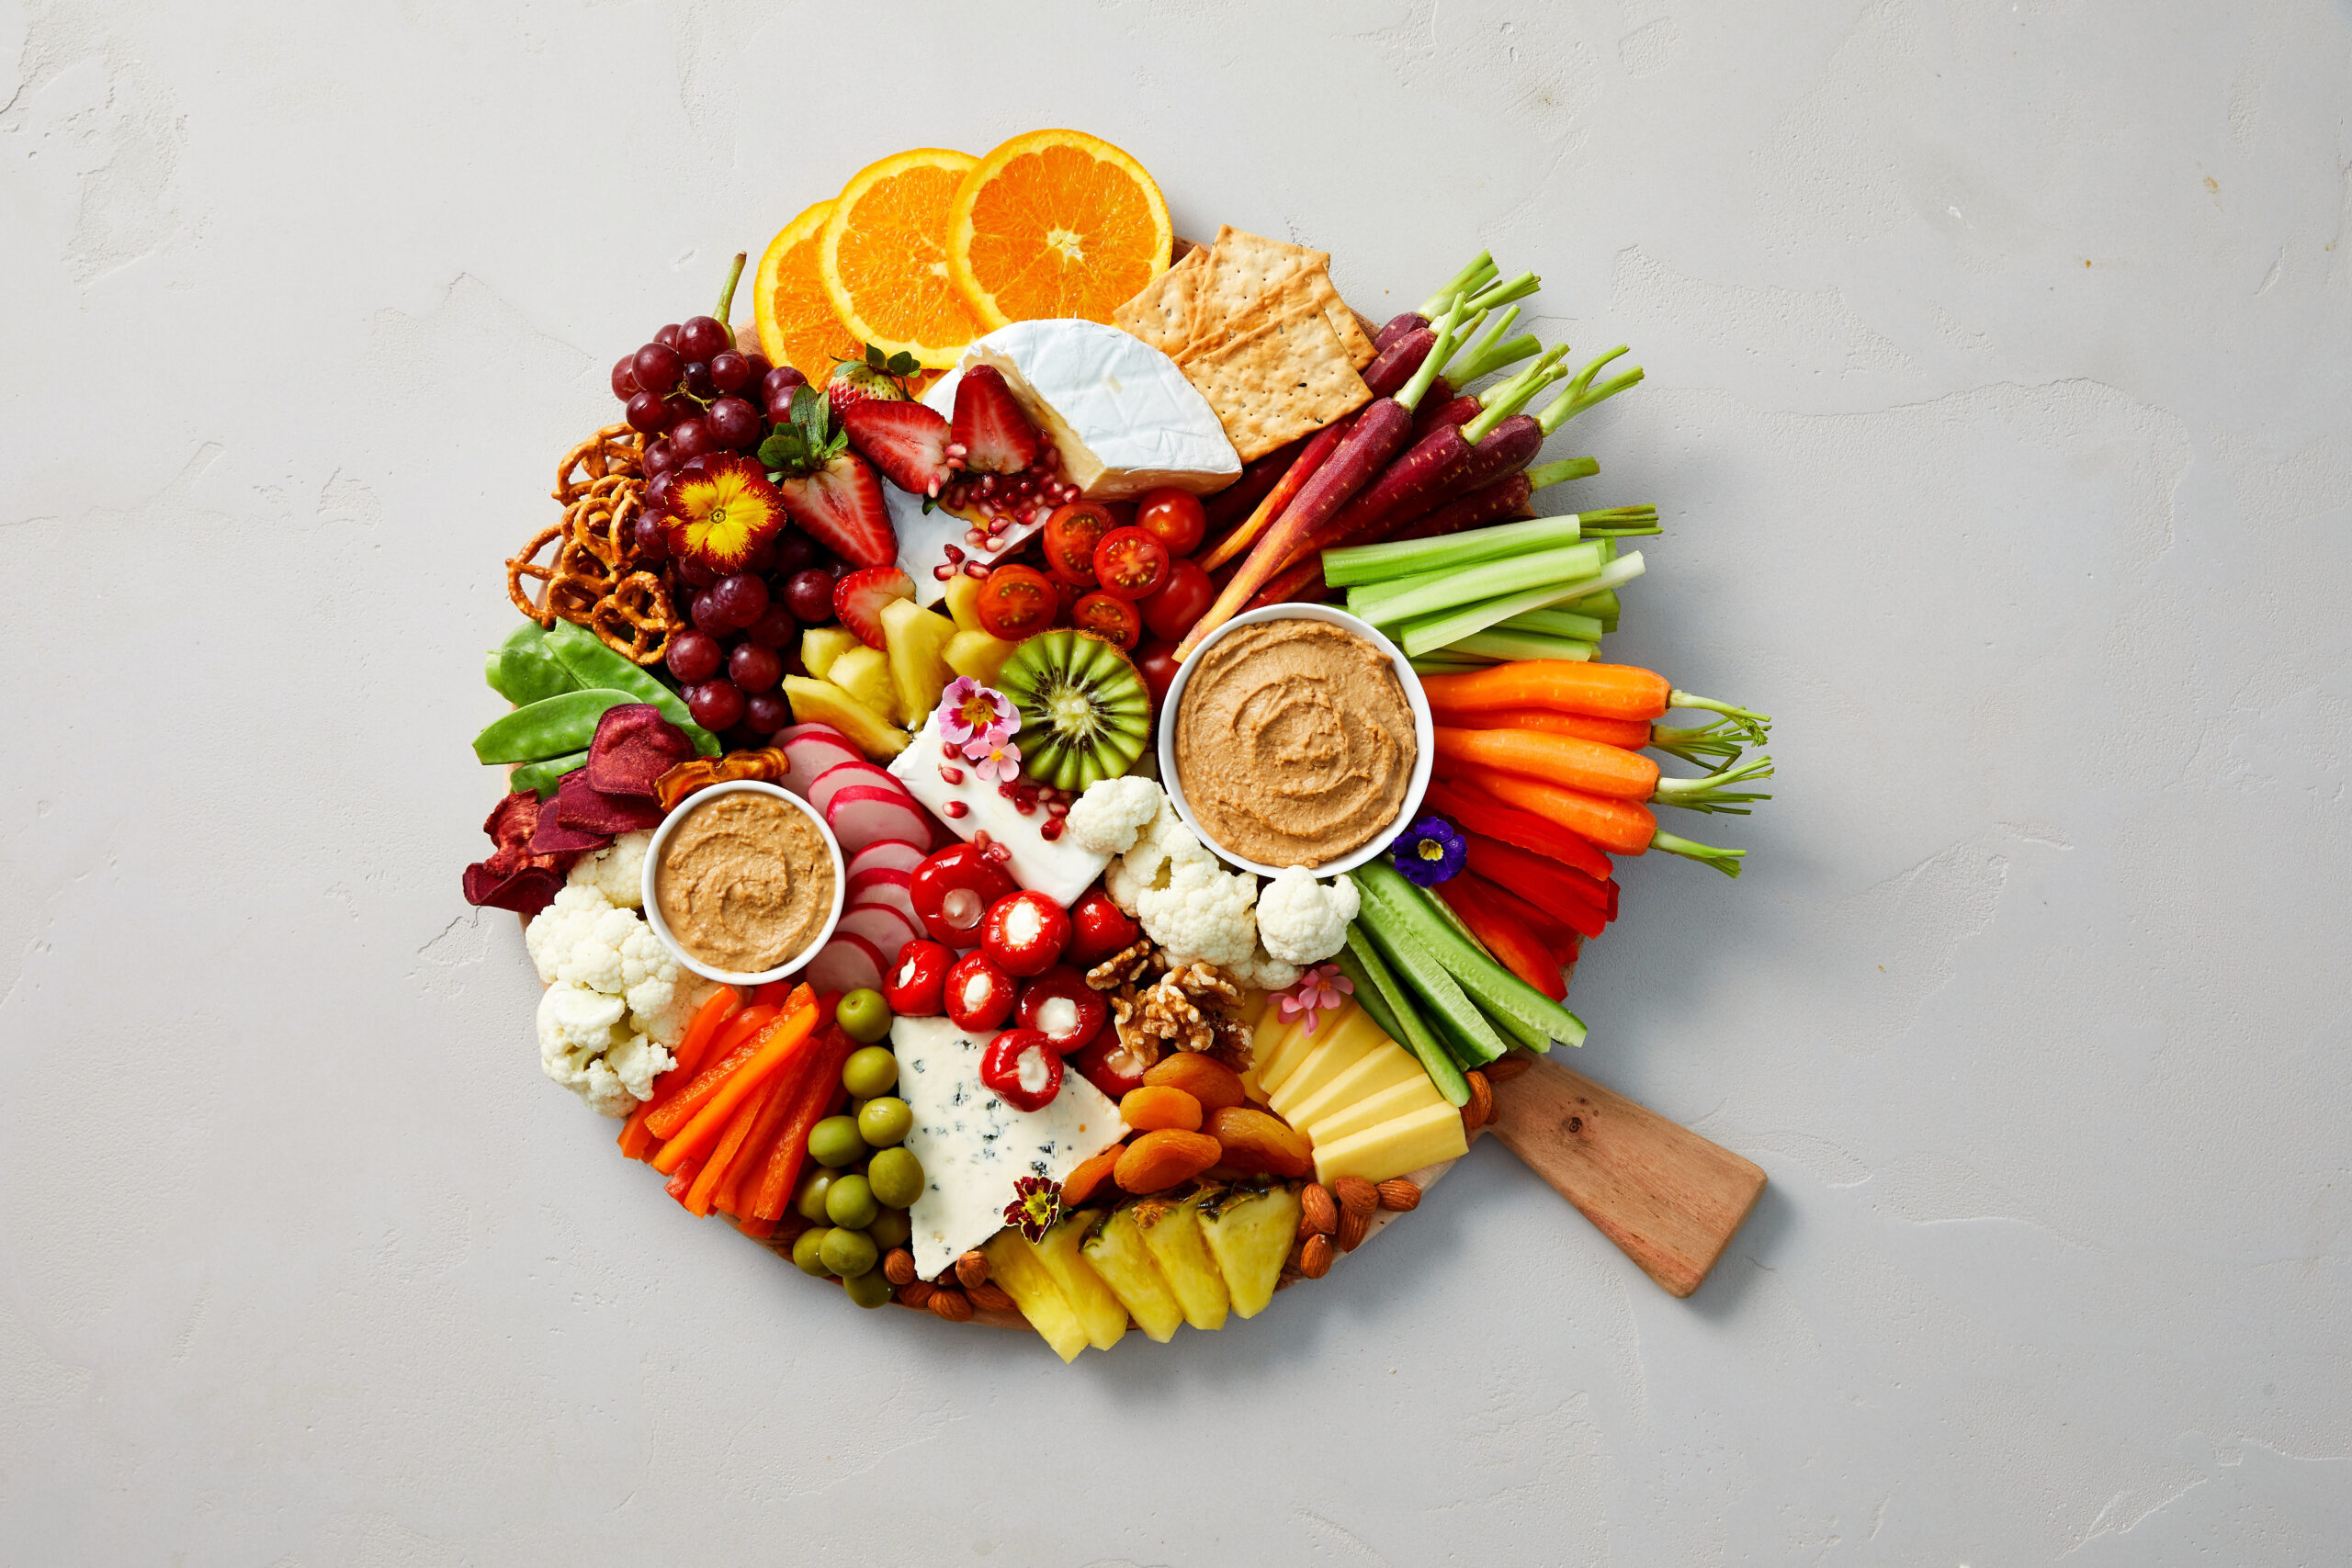
Microgreens are a fun, sustainable and incredibly nutritious way to jazz up any meal. We love to use them at Aro Hā in the kitchen for added freshness, their unique flavour and beauty working as wonderful enhancers to any dish. Microgreens are rich in concentrated nutrients and are packed with complex flavour profiles. There is evidence to suggest that this nutritional potency includes a high antioxidant content. The exact type of antioxidant depends on the specific plant, but their presence is notable and supports disease prevention.
Brassicas, including broccoli or mustard greens, contain high levels of vitamin E, a phenolic antioxidant.
Asteraceae micro greens, such as chicory and lettuce, are higher in vitamin A, carotenoid antioxidants.
These amazing little greens have, on average, four times the vitamin content, lutein, and beta-carotene levels than the mature leaves of the same plant. The levels of these nutrients will vary across the wide array of seed varieties. Mature vegetables can never be replaced in their role of providing our bodies with necessary fibre, but microgreens certainly fill several gaps in a normal diet.
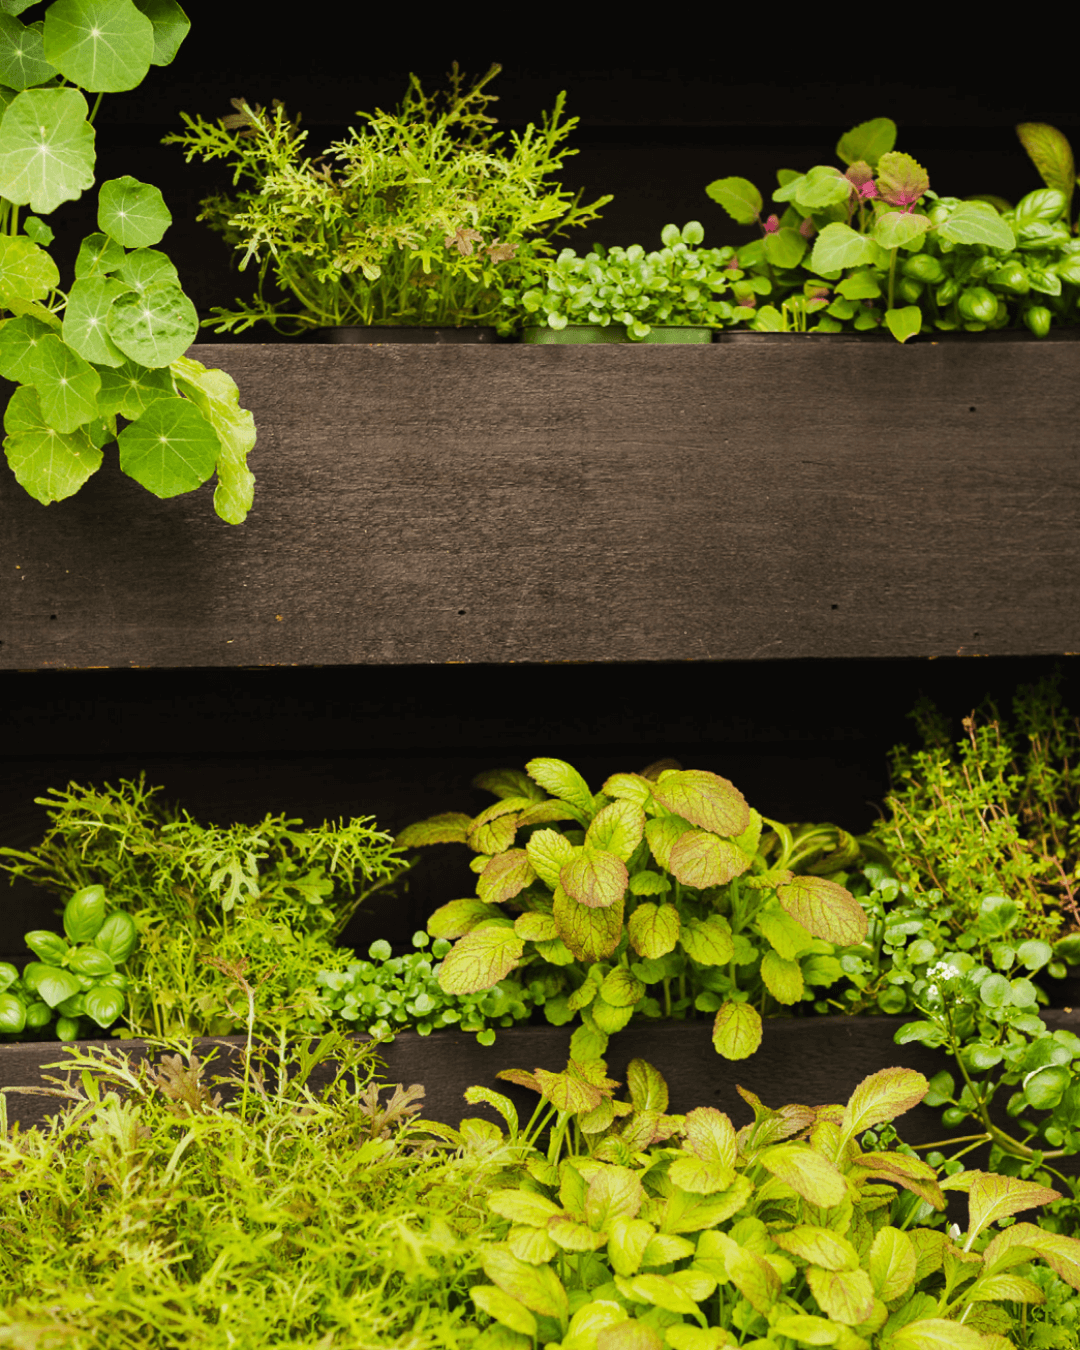
At Aro Hā, we love to grow the following microgreens:
- Watercress
- Basil
- Sweet Pea
- Coriander
- Rainbow Chard
- Mustard
- Rocket
- Broccoli
- Lambs Quarter
- Radish
How To Grow Your Own Microgreens
What You Will Need
- Shallow tray
- Seed raising mix
- Seeds
- Spray bottle
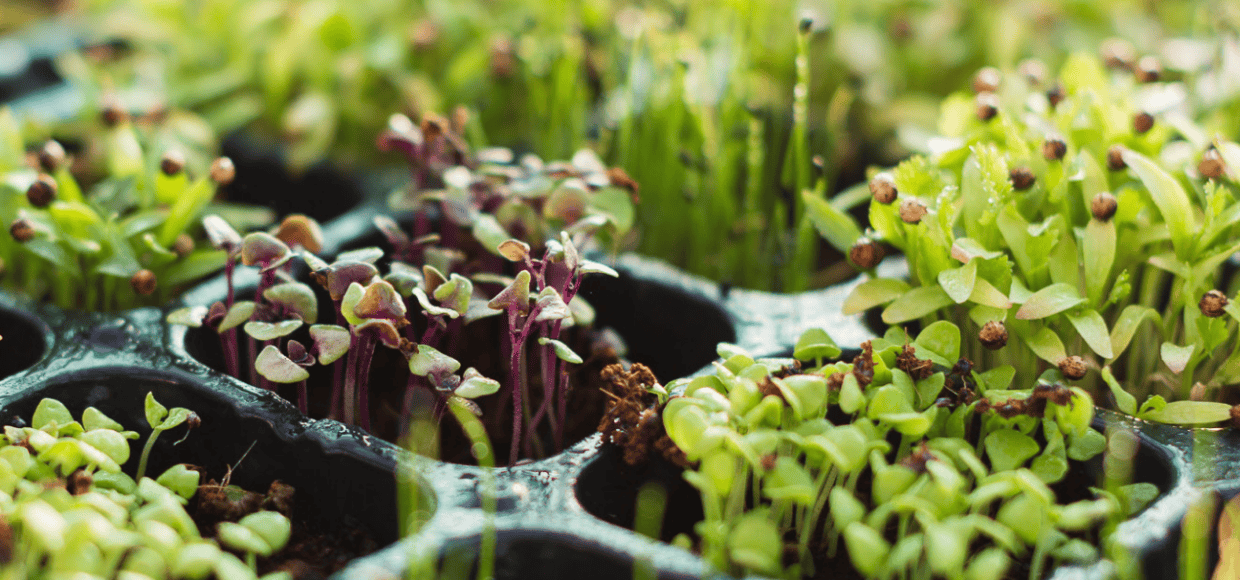
Fill a shallow container with seed raising mix (make sure that the water can drain). The soil doesn’t need to be deep as harvest will occur while the seeds are still very young – about 5cm of soil will be enough. Plastic trays from the garden centre will do, or you can punch drainage holes in the bottom of a shallow plastic food tray.
Sometimes, using smaller containers allows for more space to plant a variety of seeds or enables you to have microgreens at various stages of growth for a continual supply!
Once the container is filled, smooth the surface of the soil and gently press it down. Sprinkle an even and generous layer of seeds across the entire tray. The larger the seed the thicker they need to be sown.
Either cover seeds with a light layer of soil or with a paper towel. The idea is to not let them dry out so use a spray bottle to keep the soil or paper damp.
Water your tray by soaking it in a shallow waterbed or by gentle overhead watering. Do not let the soil dry out. A plastic cover placed over the seed tray may help keep moisture in and animals out. Remember to also keep the tray out of direct sunlight at this stage.
It is often said that the best time to harvest microgreens is when they have developed their first set of true leaves. At first the sprouts will generally form heart-shaped leaves before these change into smaller versions of the mature leaves. This is when you know they are ready to harvest, usually about 10 days to two weeks after planting, but the greens will be delicious at the ‘seed leaf’ stage too, or let grow a little larger.
To harvest, simply snip the microgreens just above soil level. You can harvest as much as you need, but they can also be kept in the fridge in an airtight container for about a week.
Compost the used seed raising mix.
Sprouting
Sprouting is a germination process by which seeds, grains, and pulses have their nutritional structures altered, becoming super digestible and rich in nutrients. Complex proteins are broken down into simpler compounds and the baby plants that emerge hold a myriad of newly available vitamins.

Sprouts have a delicious crunch and can be eaten raw or cooked. They are easy, cheap and relatively quick to make. Almost any grain, seed, bean and pulse can be sprouted and enjoyed, but some are tastier than others. Our favourite sprouts are made from:
- Lentils
- Mung Beans
- Alfalfa
- Radish
- Mustard
- Broccoli
- Beets
- Clover
What You Will Need
Grow 3 Cups
- 1 cup grain, pulses or other seeds
- 2 L jar
- Water
- Muslin cloth and a rubber band
How to Grow your own Sprouts
- On day 1, thoroughly rinse your seeds in water. Place seeds in a 2 litre jar and fully submerge them in water. Leave to soak overnight.
- The next day, drain the water but leave the seeds in the jar. Rinse seeds once more. Cover the jar with a muslin cloth and fasten with a strong rubber band. Leave for 24 hours in a temperate spot with the opening facing down at a bit of an angle to allow excess water to drain (either prop the jar up in your dish rack or in a bowl).
- On day 3, your sprouts should be growing! Refresh them by covering in water and draining them once again. If possible, rinse and drain the sprouts between two and four times a day. Leave for another 24 hours as before.
- Between days 4-6, repeat the rinsing and draining for at least three days or until the sprouts have reached their desired size. Some taste delicious once they have grown tiny leaves (like Alfalfa) and others are delicious less sprouted (like Mung beans).
- Store your sprouts in the fridge in a container that allows for airflow. This will keep your sprouts crunchy, fresh and prevent any mould.
Thanks to Aro Hā Retreat Centre excerpt from Plant To Plate | Aro Hā Cookbook
Images from the Plant to Plate Cookbook.