Photography by Amanda Reelick
Crochet is soothing, creative and delivers quick results. Learn the basic stitches and you’ll happily while away cold days with the relaxing twist and pull of the crochet hook.
You will need:
- 6mm crochet hook
- 12-ply wool (3-5 x 50g balls depending on slipper size)
- Darning needle
- Scissors
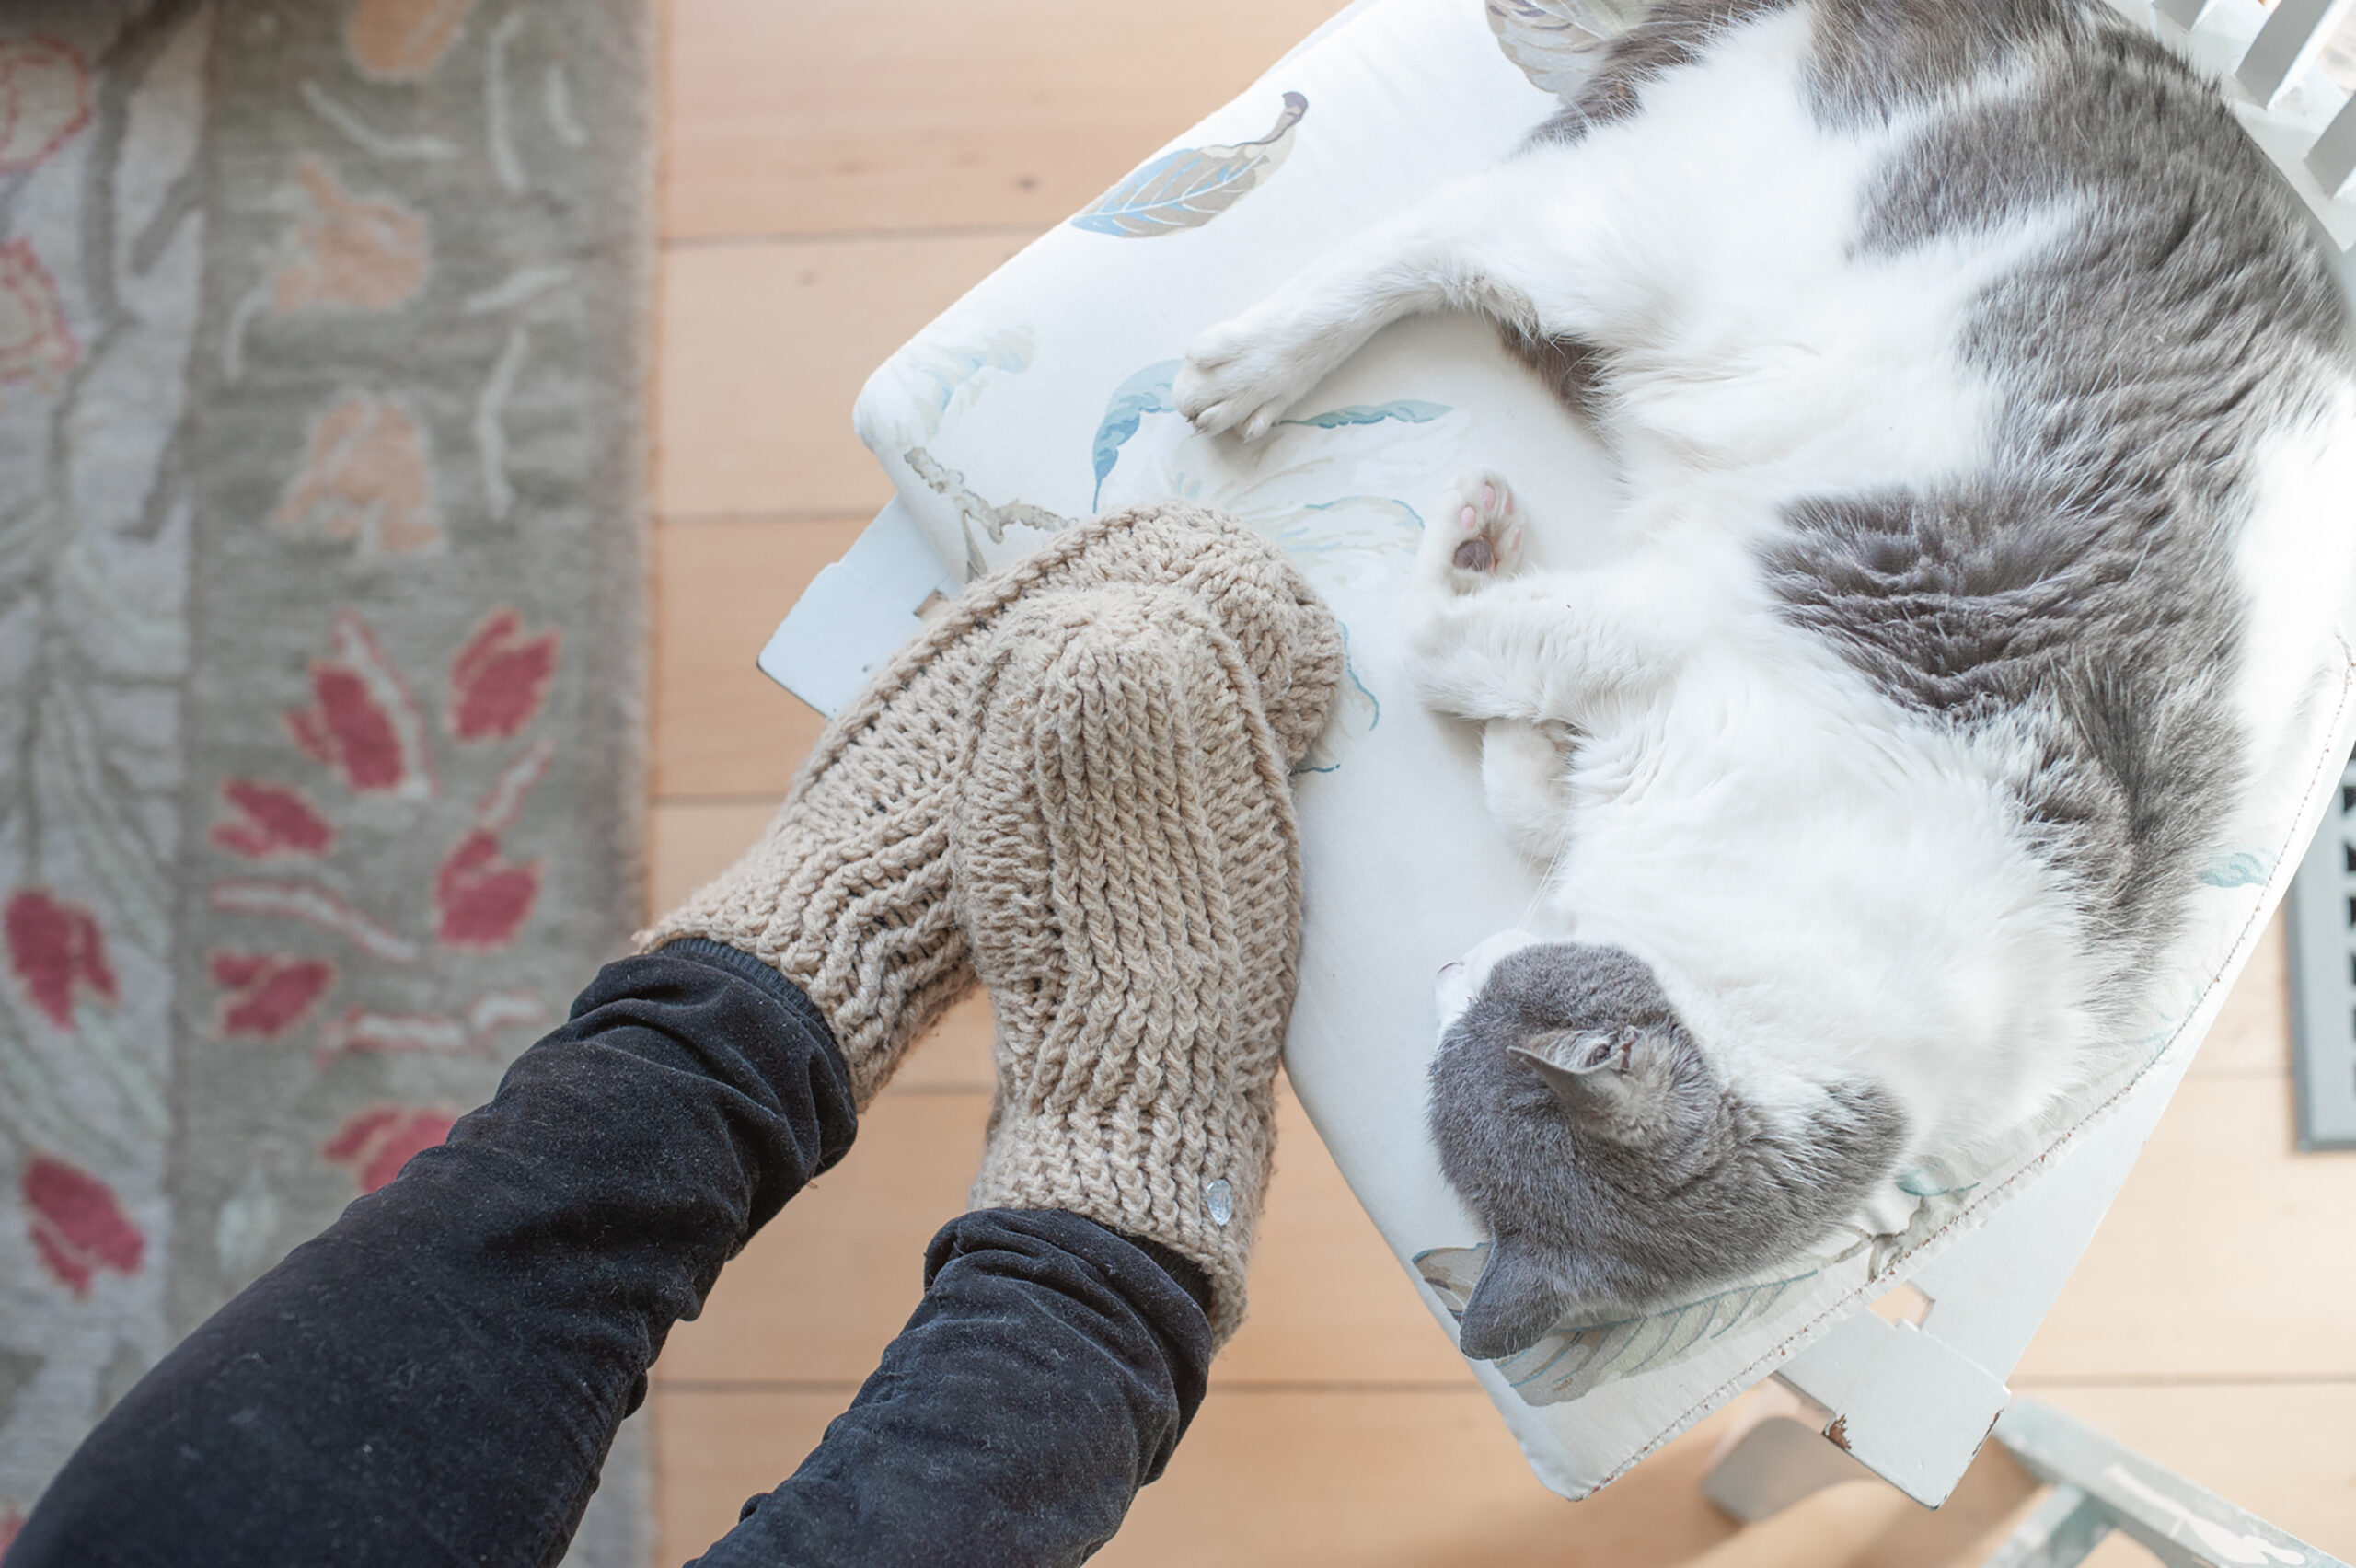
We used New Zealand made Naturally K2 – a soft, warm blend of merino, alpaca and acrylic from Spotlight. Pattern makes size 7-9 slippers but can be adjusted.
Magic circle method
Row 0
- Start by crocheting a magic circle.
- Using your non-dominant hand, hold the end of the yarn between your thumb and pointer finger.
- Cross the working yarn over top of the yarn on the inside of your hand and lay the working yarn across the top of your fingers. Use your thumb to pin the yarn secure for the next part.
- Insert the crochet hook underneath the first strand of yarn and hook the second strand of yarn.
- Pull the second strand of yarn under the first strand of yarn.
- Twist the yarn to create a loop.
- Extend yarn over the hook using the working yarn and pull through the loop to create a chain.
- Remove your fingers from the loop. Your magic circle is now completed!
Row 1
Step 1: To work into the magic circle, crochet one chain stitch, then work 13 double crochet stitches, crocheting over the circle.
Step 2: When you’ve finished crocheting your first round of stitches, gently pull the yarn tail until your circle closes and you have a tightly closed circle.
Row 2: Continue working your second round of stitches by double crocheting into the top stitches in your circle. Chain Stitch 1, Slip Stitch – (26). If you want to adjust the size then you may need to have more than 26 stitches in total.
Row 3-12: Chain Stitch 1, 7 Front Post Double Crochet, 3 Back Post Double Crochet, 3 Front Post Double Crochet, 7 Back Post Double Crochet, 3 Front Post Double Crochet, 3 Back Post Double Crochet, Slip Stitch – (26). This creates the main body of the slipper. The 7 FPDC is the top and the 7 BPDC is the bottom of the slipper. This section ends in the middle of your foot arch, just before the ankle.
Start your heel
Row 13: Turn. Slip Stitch, Chain Stitch 3, 2 Front Post Double Crochet, 3 Back Post Double Crochet, 7 Front Post Double Crochet, 3 Back Post Double Crochet. Don’t worry if you come to this part and you are beginning this section with your BPDC. If you have added in more rows than the pattern to make the slipper longer then you may not start with FPDC.
Row 14: Chain Stitch 3, turn, 2 Back Post Double Crochet, 3 Front Post Double Crochet, 7 Back Post Double Crochet, 3 Front Post Double Crochet, 3 Back Post Double Crochet.
Row 15: Chain Stitch 3, turn, Chain Stitch 3, 2 Front Post Double Crochet, 3 Back Post Double Crochet, 7 Front Post Double Crochet, 3 Back Post Double Crochet.
Repeat as necessary: Repeat 14 and 15 for 5 rows – add more rows if needed.
Finish the sole of your heel
Row 21: Chain Stitch 3, turn, 2 Back Post Double Crochet, 3 Front Post Double Crochet, Decrease (stitch 2 Back Post Double Crochet together), 3 Back Post Double Crochet, Decrease (stitch 2 Back Post Double Crochet together), 3 Front Post Double Crochet.
Row 22: Chain Stitch 3, turn, 2 Front Post Double Crochet, 3 Back Post Double Crochet, Decrease (stitch 2 Front Post Double Crochet together), 1 Front Post Double Crochet, Decrease (Stitch 2 Back Post Double Crochet together), 3 Back Post Double Crochet.
Finish toe
Cut yarn leaving 25cm. Turn inside out. Pull magic circle to close and tuck in tail.
Sew up heel
Place heel together matching up the stitches and darn together going through top of the stitches. Wave in the tail. Turn the slipper inside out.
Top: Row 0: Starting in the centre, pull up a loop.
Row 1-5: Chain Stitch 1, Front Post Double Crochet around centre back Stitch, 8 Front Post Double Crochet (side), 7 Front Post Double Crochet (front), 8 Front Post Double Crochet (side), Slip Stitch.
Can make this ankle wider or more narrow.
To finish: Cut yarn. Pull through. Close with invisible stitch weaving in end. Snip off remaining yarn.